Ghee from butter | Homemade ghee recipe
Ghee from butter | How to make ghee recipe at home | Step by step guide on how to prepare Ghee from butter which is unsalted
Ghee is a commonly used ingredient/product in most of the Indian cuisines.
Basically, it is prepared by simmering unsalted butter.
Ghee is a healthy option to oil.
As we all know, Butter is usually prepared from milk.
The cream collected from milk is churned/simmered to prepare butter. I have already put up a post & video on how to prepare butter from milk.
What is Ghee used for?
Ghee is a very important ingredient used for preparing Indian Sweets and Desserts. It is also used in preparing gravy/curry for rice, chapathi, roti, naan etc.
It gives a peculiar flavor when added to most of the Indian dishes. Especially, in preparing South Indian Dosa, which makes it more crispy and tasty.
In India, Ghee is also used in pooja’s for offering to God’s at temples during festivals or any special occasions.
Video Recipe: How to make Ghee from Butter
Why Homemade Ghee from Butter?
Usually all of us have the habit of buying ghee directly from store/shops to save time and reduce our work. Initially, I use to find it difficult to collect the cream from milk and accumulate it for a week or two, so that we can prepare butter and ghee at home.
I was lazy to do it on a regular basis. But, believe me, its really easy to prepare it at our home which is also healthy and tasty.
Most importantly it saves money, as store bought ghee is quite costly.
So now, I make sure I prepare it right at my home.
All thanks to my mom who taught me how it can be made at home at no extra cost.
Further, you may prepare the below recipes using this ghee:
1. Mutton Ghee Roast
2. Chocolate Kesari
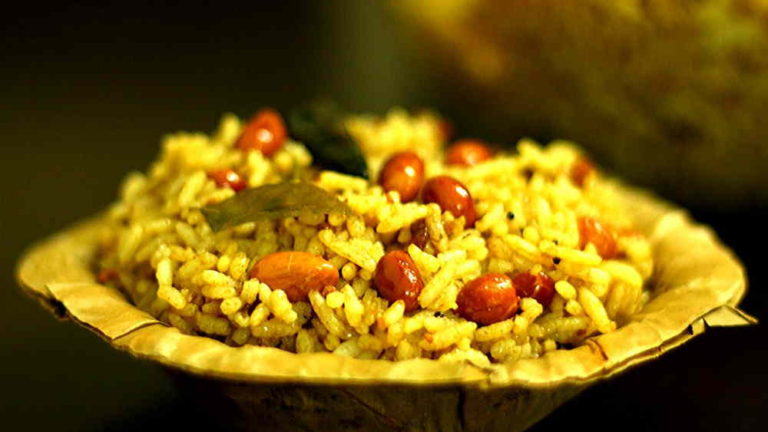
3. Sweet Pongal
4. Coconut Boli
5. Paruppu Boli
6. Bread Halwa
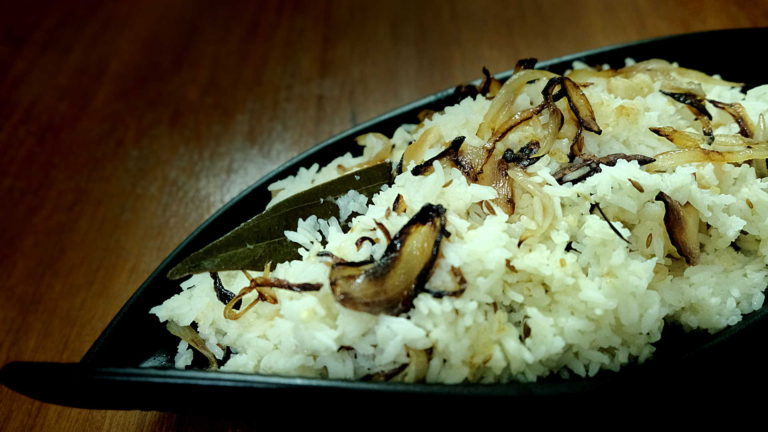
7. Mutton Briyani Recipe
How Ghee is prepared?
In a thick bottomed pan/kadai, add the butter. You may use store bought or homemade butter. You can use refrigerated butter or in room temperature.
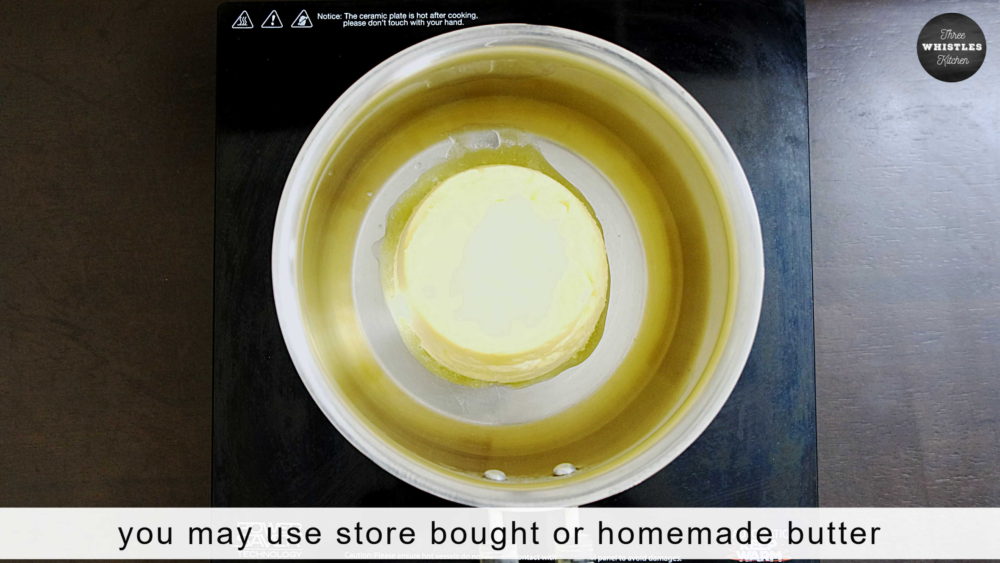
Block of butter is added to a thick deep bottomed pan and heated constantly. It starts melting and after sometime turns golden to slightly brown color.
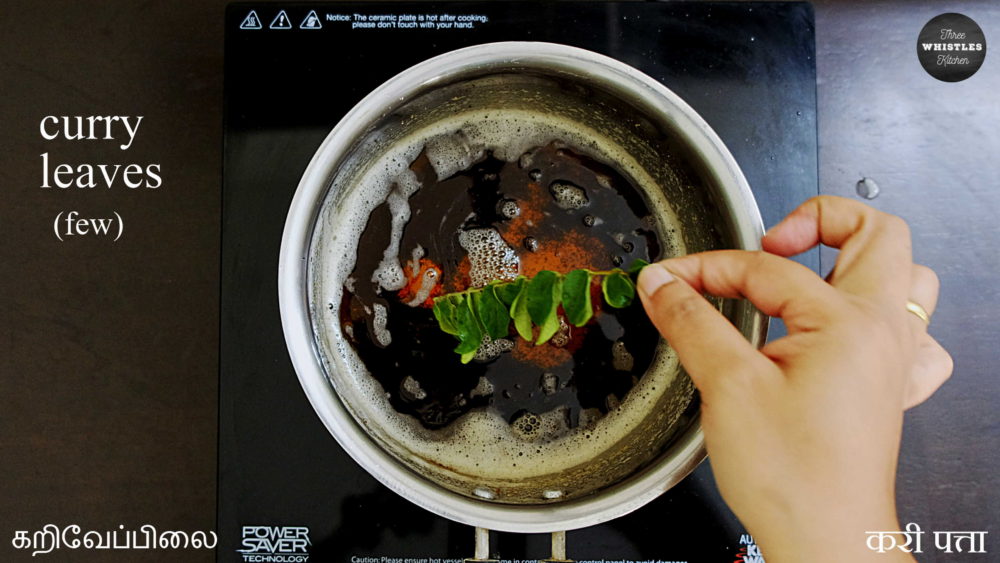

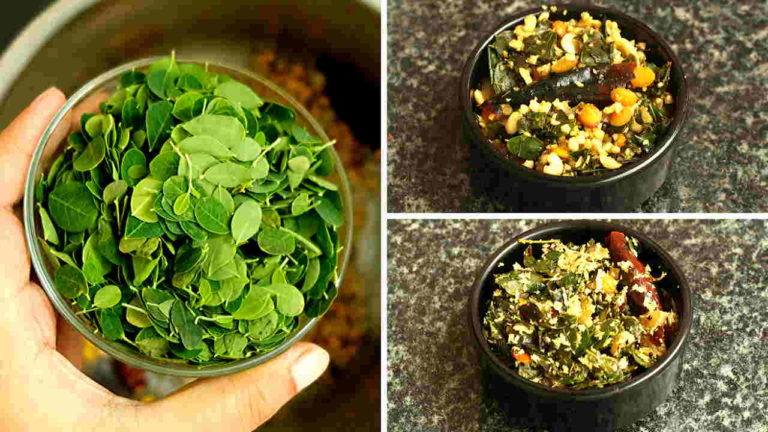
When you add Curry leaves it gives an extra fragrance.
In some cases, people also use Drumstick tree leaves or moringa leaves instead of curry leaves. Use a filter to strain and transfer it to a jar or bottle.
I usually store it airtight & refrigerate, so it has a long shelf-life.
Tips & Tricks
- Initially, use store bought butter to make it easier to learn preparing ghee at home.
- Always use unsalted butter to prepare ghee. If you use salted butter, ghee will turn salty.
- Make sure to prepare in medium flame, so as to avoid burning of ghee.
- For yellow color ghee – use butter prepared from cow’s milk.
- For white color ghee – use butter prepared from buffalo’s milk.
- Finally, for a longer shelf life – Do NOT use wet spoons to take ghee. You may also refrigerate and use little whenever needed. AVOID CONTACT WITH MOISTURE.
- Ghee from butter is now ready!
Ingredients
- 400g Butter (Unsalted)
- Few Curry leaves - for fragrance - (optional)
- Or, Few Moringa/drumstick tree leaves - for fragrance - (optional)
Instructions
- In a thick bottomed pan/kadai, add the butter. You may use store bought or homemade butter. You can use refrigerated butter or in room temperature.
- If you use refrigerated butter, it will take few extra minutes. But nothing to worry about.
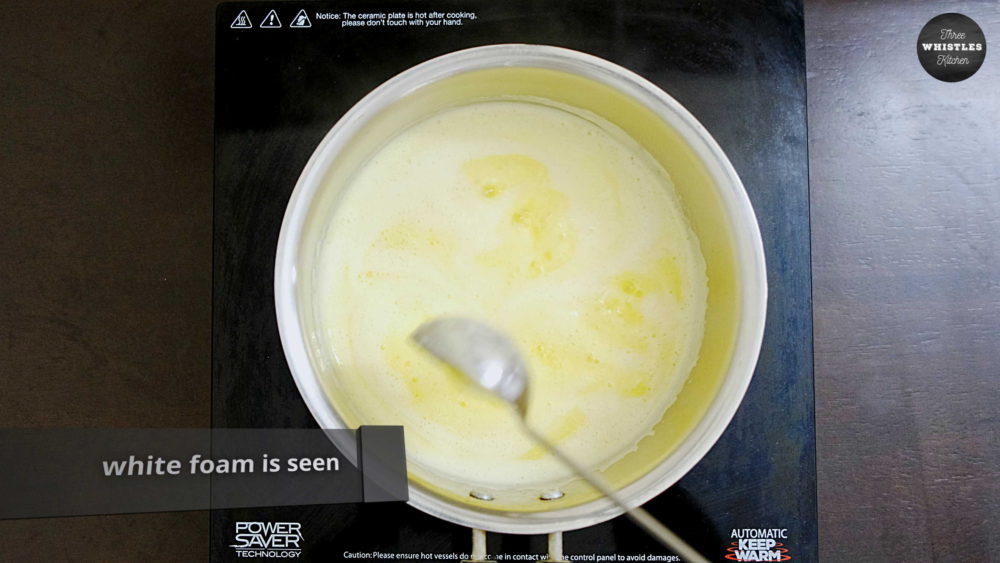
- Stir continuously in medium flame, to avoid burning. Once butter melts completely, you can see white foams will be formed. Continue stirring.
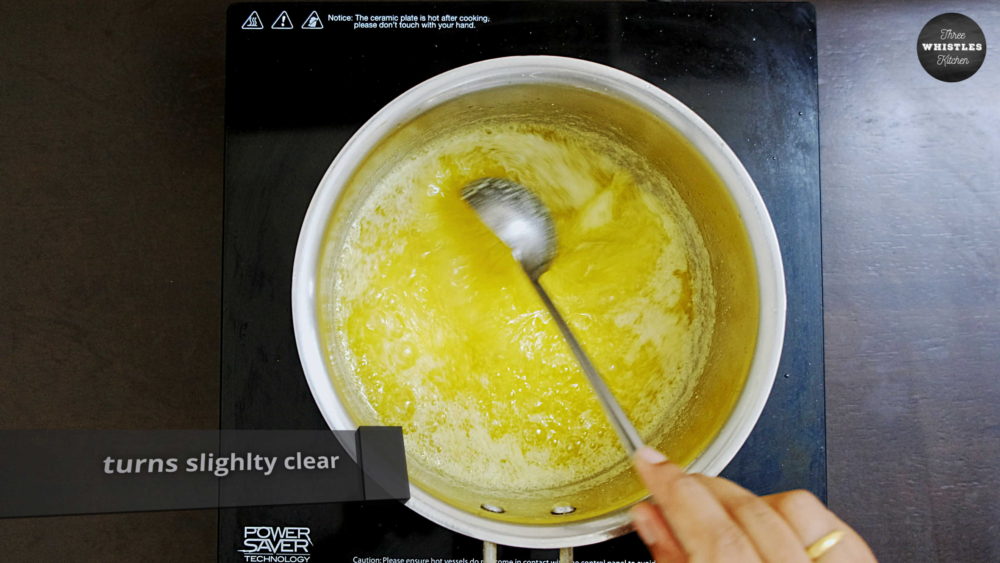
- As you cook further, foam starts reducing. Occasionally, scrape the sides to remove the residue. Butter looks thick.
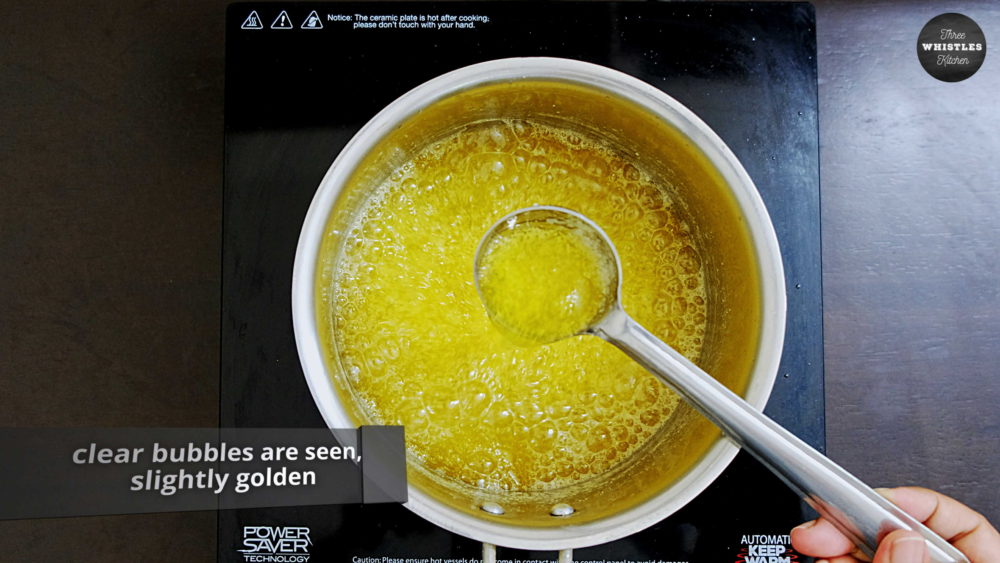
- Turns watery. Looks slightly clear. After a while you will notice clear bubbles and the ghee turns slightly golden in color.
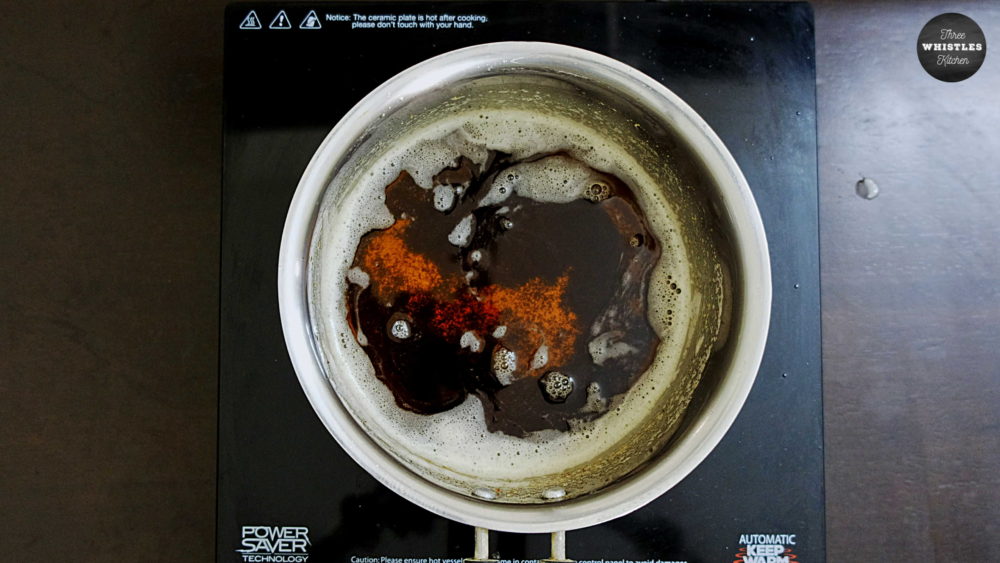
- Turns slightly brown. Turn off the flame. Bubbles reduce.
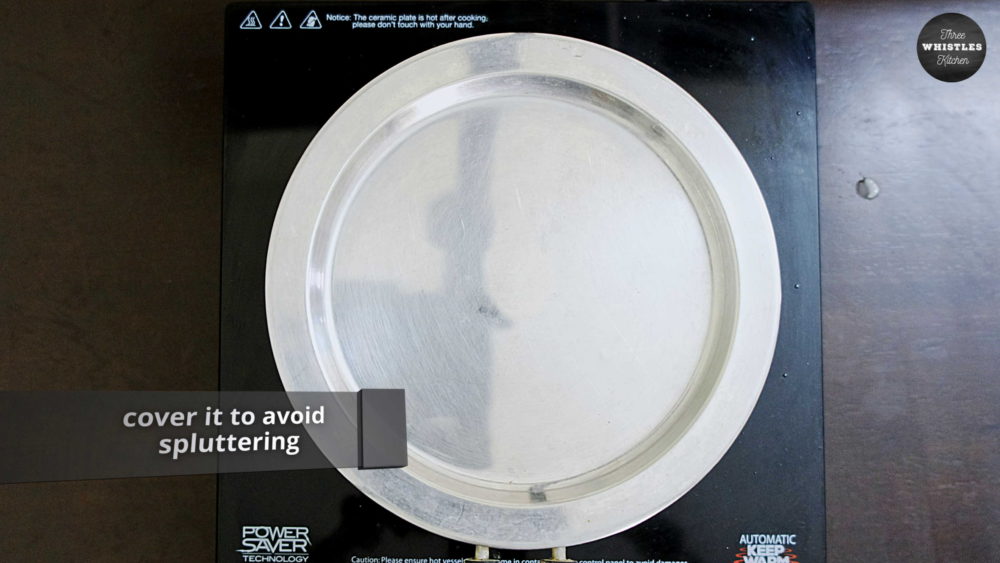
- Add few curry leaves and cover with lid to avoid splashing of oil. Curry leaves or drumstick leaves gives a good flavor for the ghee. Its completely optional to add either of them.
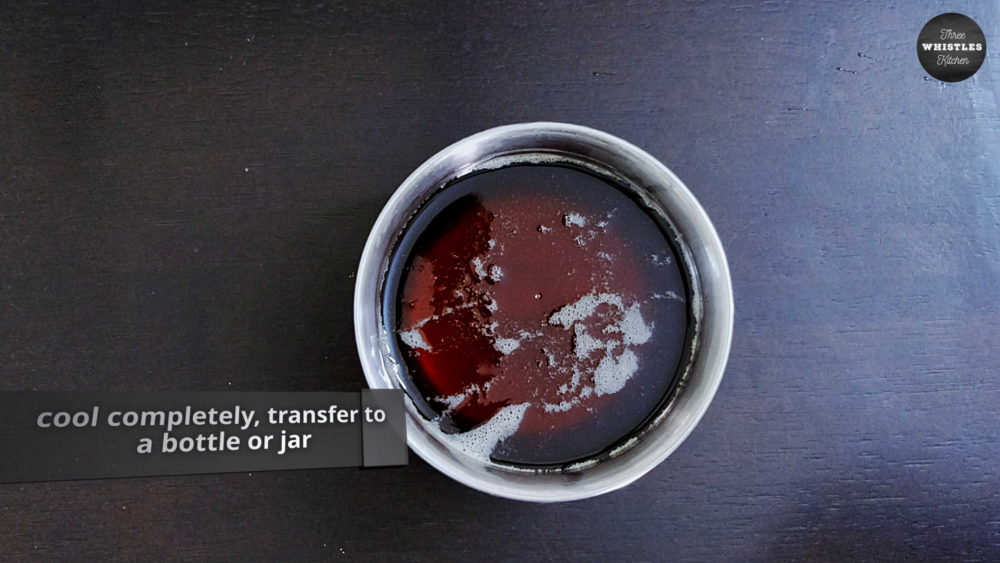
- Use a steel strainer to filter the ghee to another vessel. Do NOT use plastic strainer as the ghee will be really very hot.
- Allow it to cool completely. It will take around 15-20 minutes to cool.
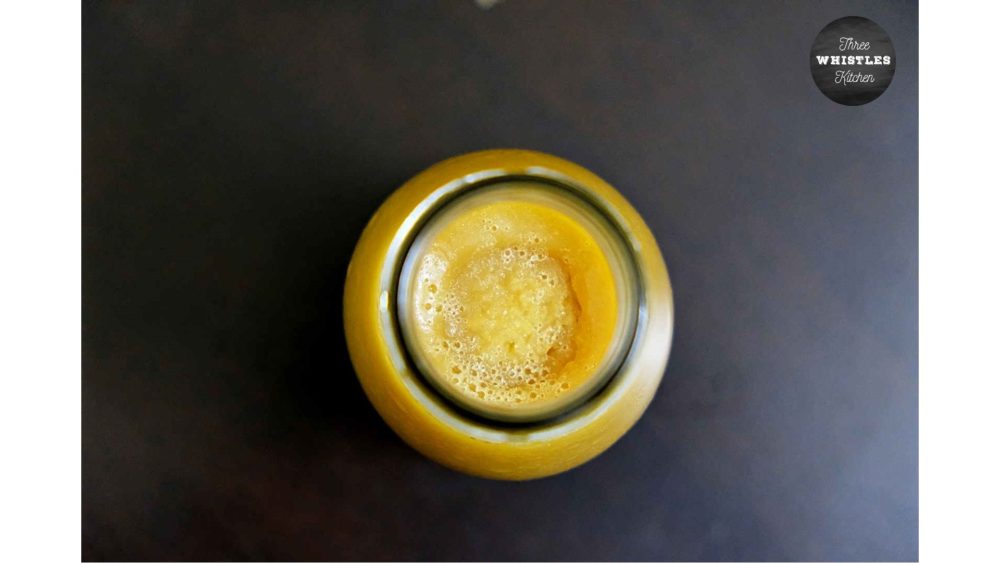
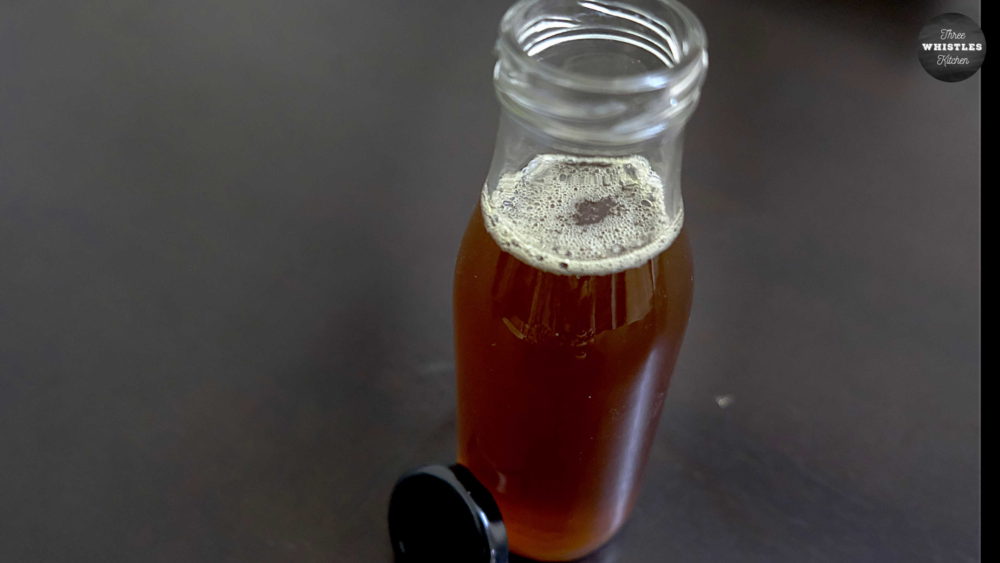
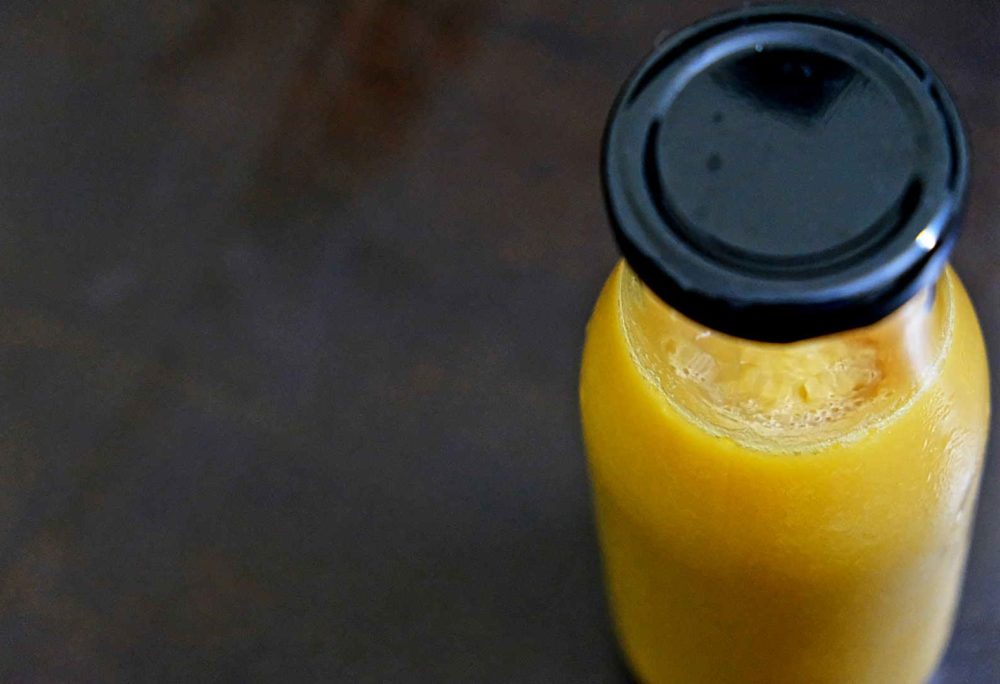
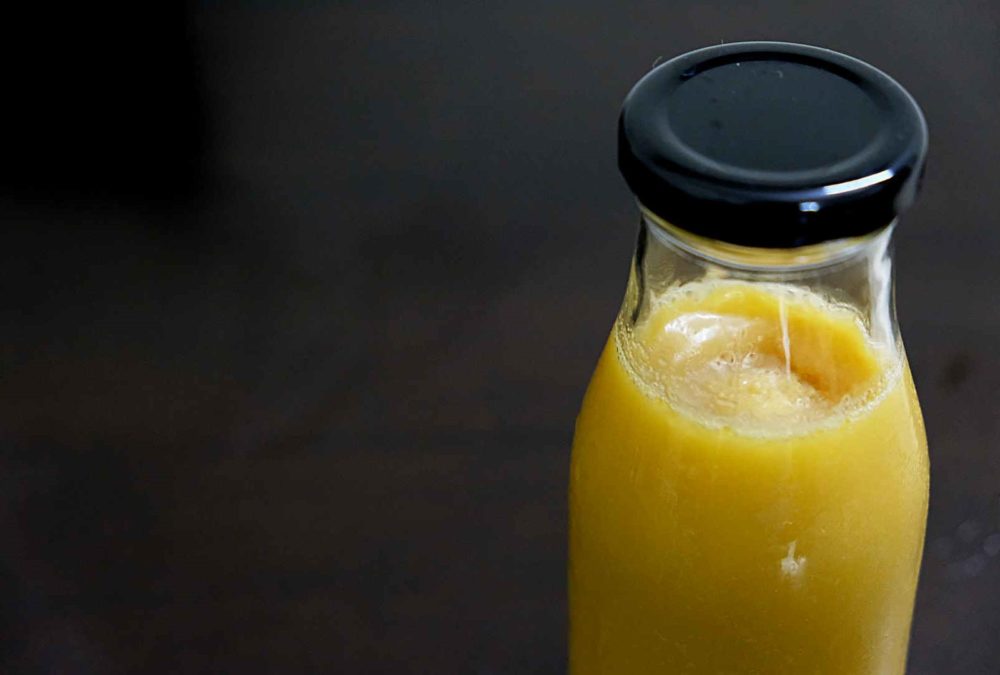
- Transfer it to a bottle or jar whichever you prefer.
- When cooled and refrigerated for 3 hours. Nice thick and yellow in color. Now it can be used in any dishes as you prefer!