Poondu Kulambu | Garlic Curry Recipe
Poondu Kulambu | Garlic Curry Recipe | Easy & Tasty Poondu Puli Kuzhambu for Rice | LunchBox Ideas
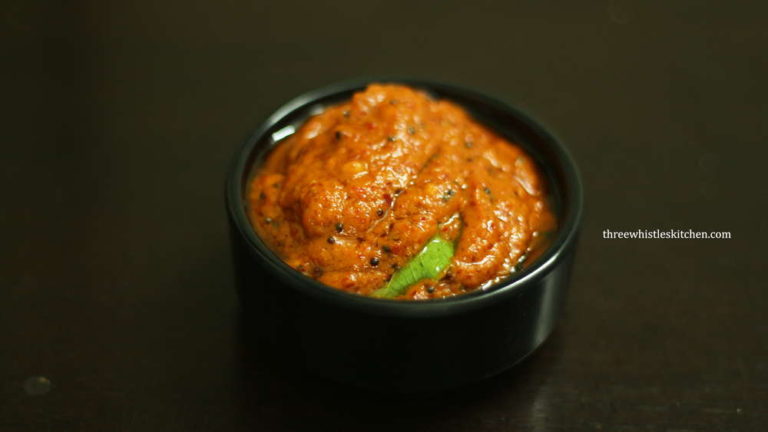
Poondu Kulambu (or Poondu Kuzhambu) is the Tamil name for Garlic Curry.
Garlic is the key ingredient in this South Indian kulambu/curry, which makes it very flavourful.
Actually this one has a mildly spicy and tangy taste, which makes it very DELICIOUS.
MOSTLY used along with Rice, it is quite EASY to cook as well.
Today, I will show you on how to pick the right Garlic, PREPARE yummy Poondu Kuzhambu and STORE them properly.
With lots of TIPS and TECHNIQUES along the way!
Let’s get STARTED!
- What is Poondu Kulambu?
- Types of Garlic & How to Choose them for Curry?
- Video Recipe: How to Make Poondu Kuzhambu/Garlic Curry at Home
- How to STORE Garlic and make sure it's Fresh?
- How to EASILY Peel Poondu/Garlic?
- Detailed Step by Step Method to Prepare Poondu Kulambu (with Tips)
- BEST Side-Dishes for Poondu Kulambu & White Rice
- Variations to this Recipe
- Important Tips to Keep in Mind for Poondu Kuzhambu
- Recipe Card
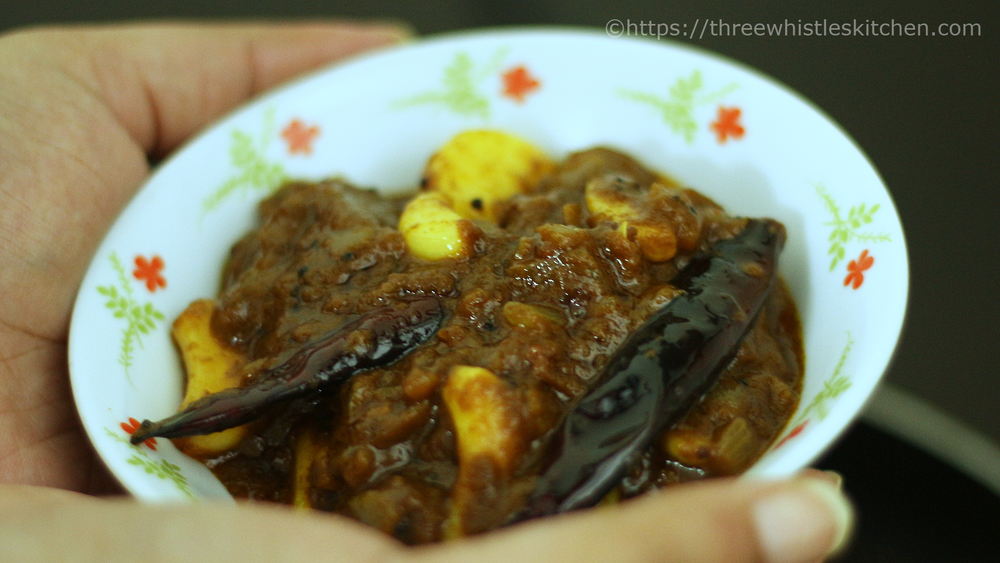
What is Poondu Kulambu?
Poondu Kulambu/Garlic Curry is a curry recipe prepared using onions, tomatoes, powdered spices (such as turmeric, chilly powder, coriander powder), whole red chillies, curry leaves, mustard, fenugreek, cumin and most importantly Garlic/Poondu.
This is the South Indian style of preparing Garlic Kulambu recipe.
You only need some basic ingredients that are easily available in your kitchen. The best part of this recipe is that it can be easily prepared by Bachelors or newbies to the kitchen.
About Garlic/Poondu:
Poondu/garlic is very closely related to onions or shallots. Each segment of a garlic bulb is called a clove or simply garlic cloves. There are approximately 10-20 cloves in a garlic bulb.
Due to its very peculiar smell and delicious taste, it is popular in Indian Cooking.
The main use of garlic is due to its health & medicinal properties.
Benefits of Garlic
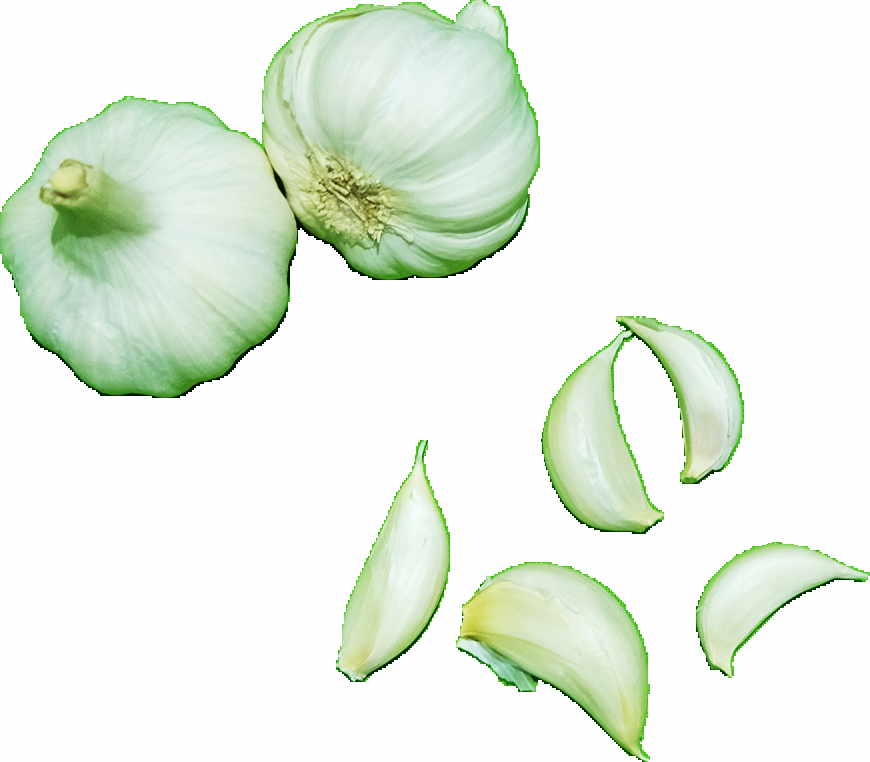
- Highly Nutritious
- Low in Calories
- Helps prevent & reduce the severity of common cold
- Reduces Blood Pressure
- Improves Cholesterol levels thereby reducing heart diseases.
- Improves Bone Health
Types of Garlic & How to Choose them for Curry?
There are different varieties of garlic available in different regions.
In South India, they are usually found in 3 types:
- Solo Garlic,
- Mountain Garlic and
- Small Garlic (Rasam Poondu).
Solo Garlic
This garlic usually has single garlic clove in them. They are said to have a mild flavour but gives good taste to food.
They usually have a hard neck. It can be used to prepare ginger-garlic paste or just garlic paste, can be used in preparing poondu kulambu or garlic curry or garlic chutney.
It can also be finely chopped and used in curries or gravies or Chinese dishes and soups.
Mountain Garlic
This garlic has approximately 10-15 garlic cloves. Each clove is quite big enough and is easy to peel the skin.
In Tamil, it called as Malai Poondu or Kodaikanal malai poondu as it grows mostly in hilly regions.
This garlic has a very strong and pungent flavour and can be easily peeled and used for preparing garlic paste or in curry.
Small Garlic (Rasam Poondu)
This garlic has very tiny cloves compared to other varieties.
Usually, this garlic is used by just cutting the 2 ends and without peeling the skin. It’s difficult to remove the skin but yet tastes great when cooked with skin.
These garlic cloves are crushed along with cumin and black pepper to prepare Rasam recipe or Pickles or Thokku varieties.
Today, I have used Mountain Garlic (or Malai Poondu in Tamil) to prepare this yummy and tasty Poondu Kuzhambu.
Video Recipe: How to Make Poondu Kuzhambu/Garlic Curry at Home
How to STORE Garlic and make sure it’s Fresh?
Storing garlic is a very important thing to note, because garlic cloves don’t stay fresh beyond 2 months.
Garlic always needs to be kept open in a basket or rack.
It SHOULD NOT be kept air tight or inside a container or cupboard. Failing which will result in shrinking and softening of garlic due to absorption of moisture.
Garlic can be peeled and then stored airtight in a container and can be refrigerated upto 1 week.
These days Garlic is also available in peeled form in vegetable shops or supermarkets. Before you buy store-bought peeled garlic, make sure it is fresh and not soft or brown.
How to EASILY Peel Poondu/Garlic?
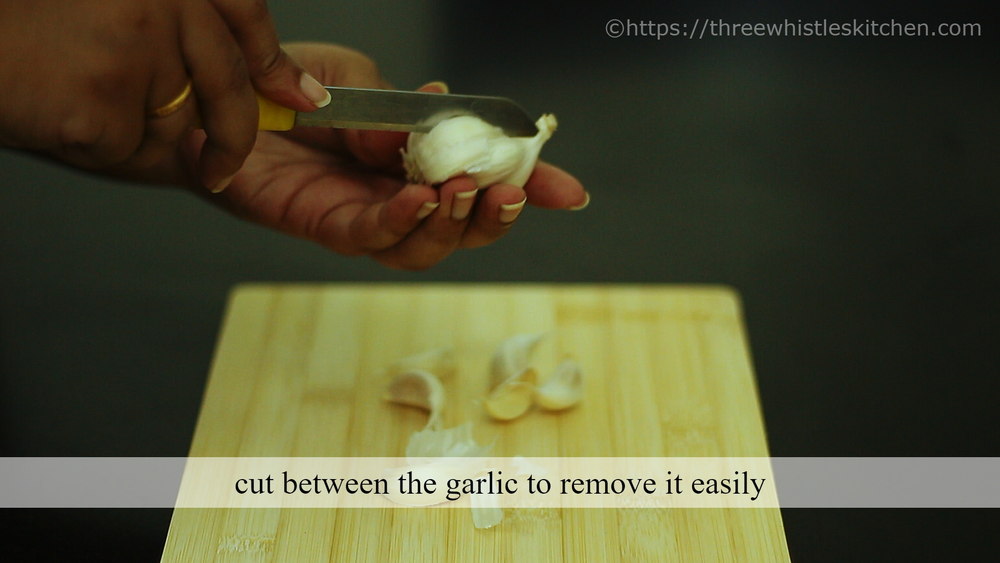
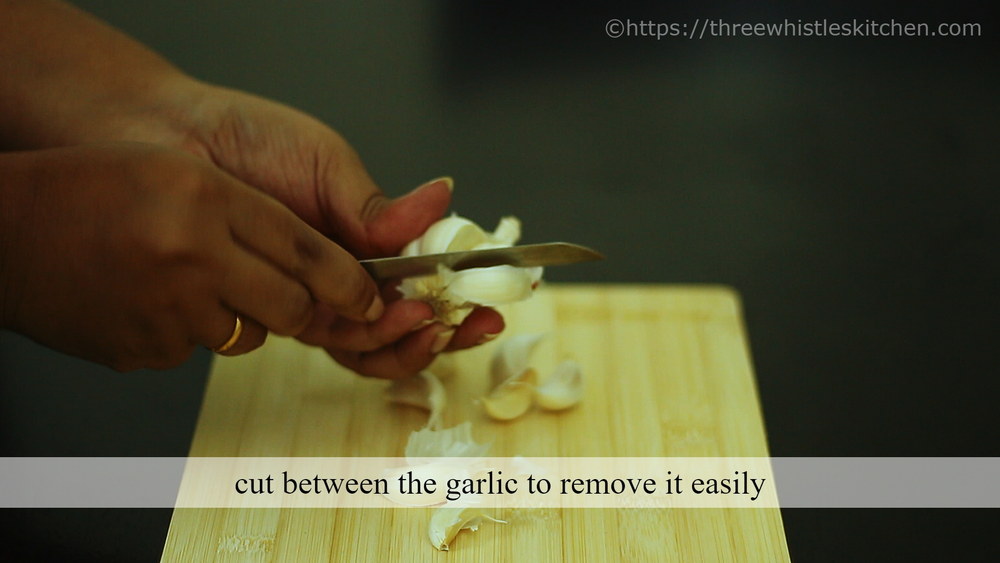
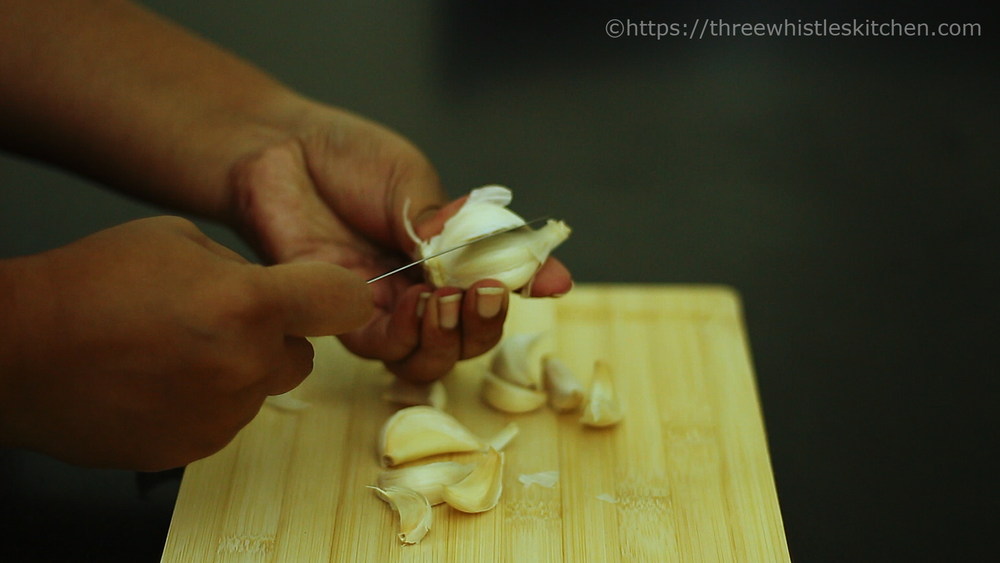
- Make cuts with the knife between each garlic clove/segment.
- Gently push or slide each clove to remove it easily.
- Continue the process until you remove all the garlic cloves.
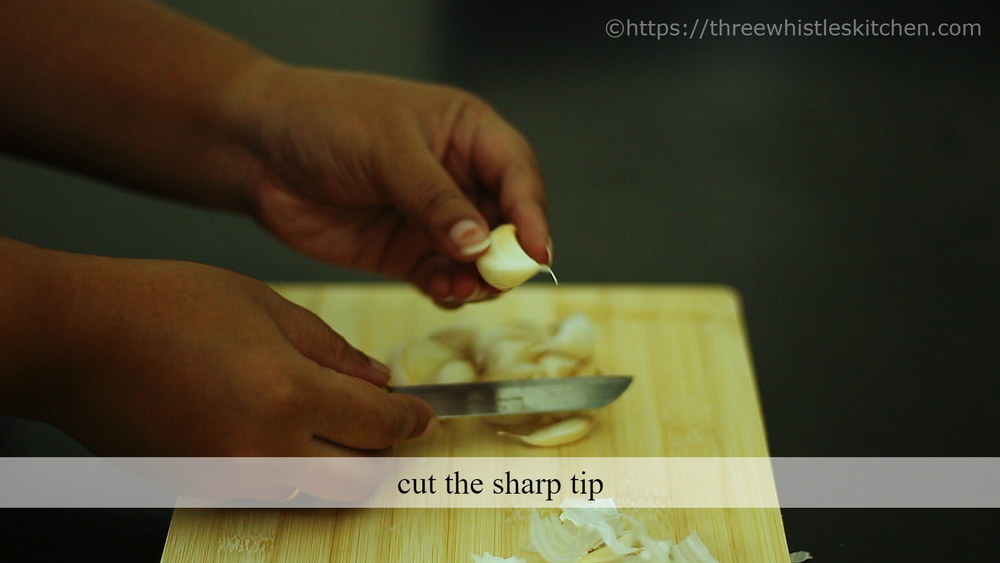
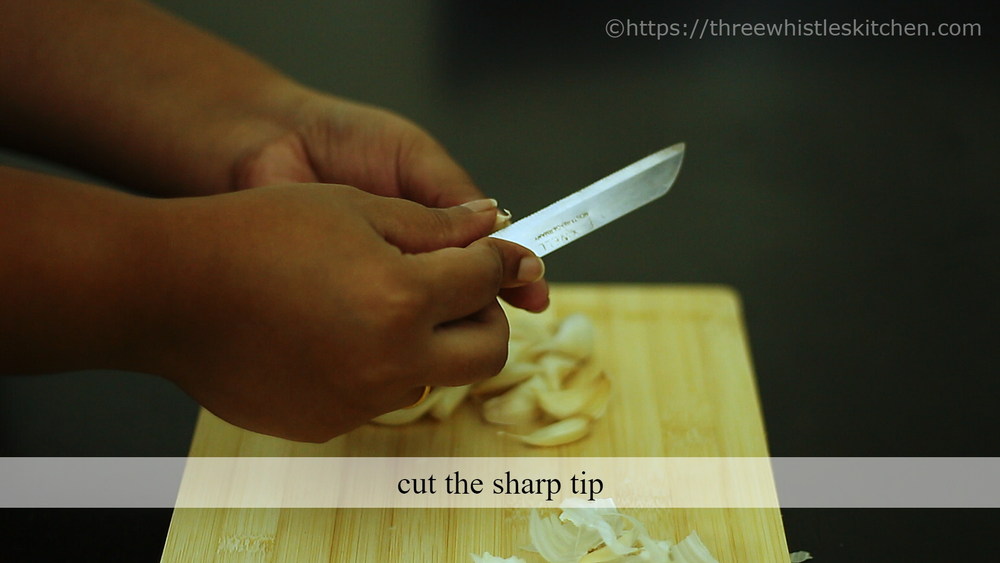
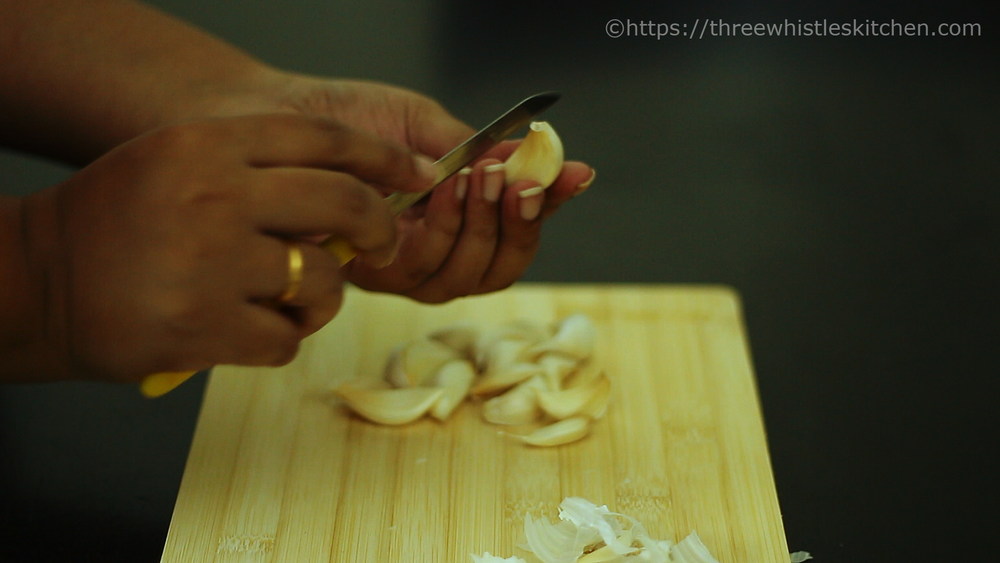
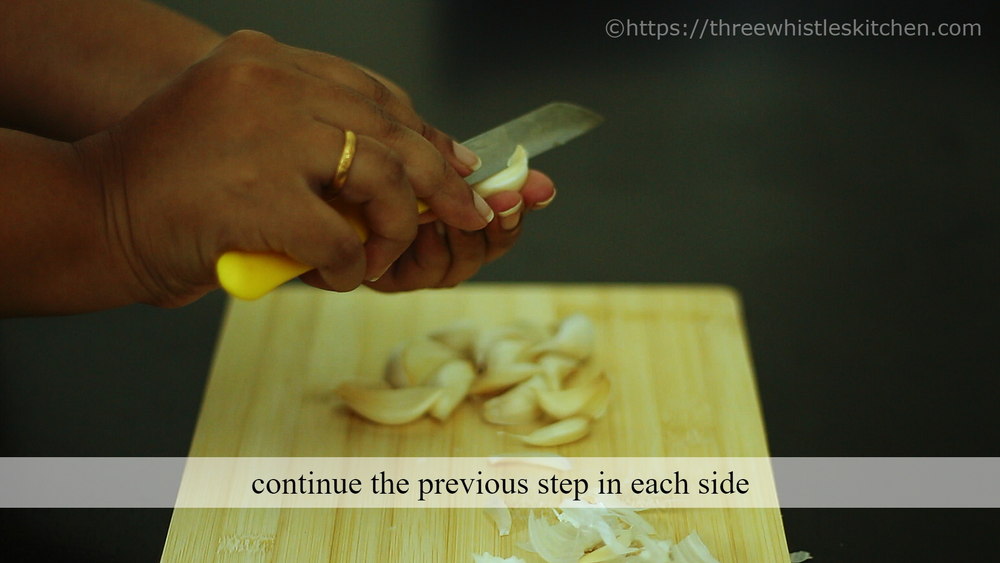
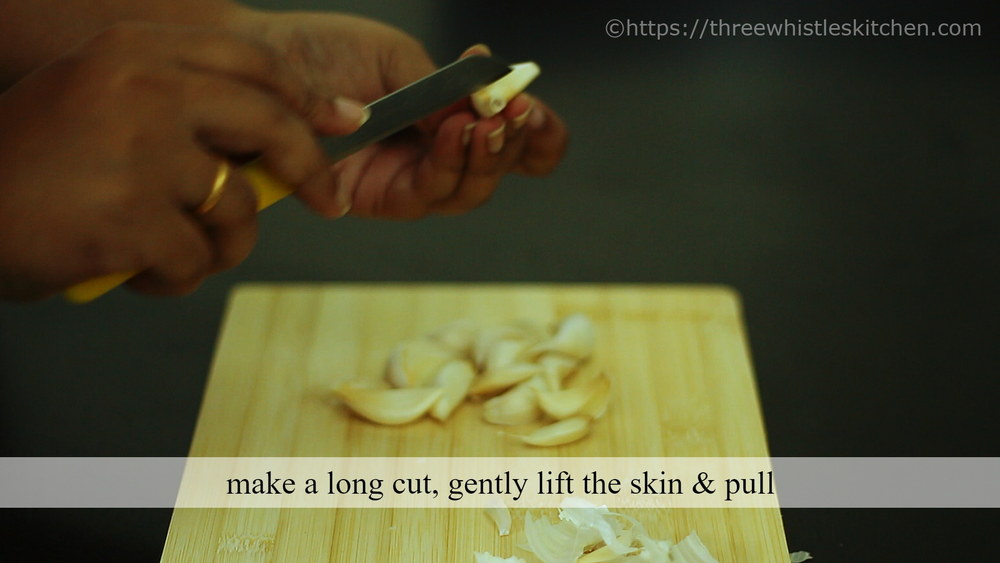
- Take one garlic clove and cut off the sharp tip on one end.
- The other end is said to be hard.
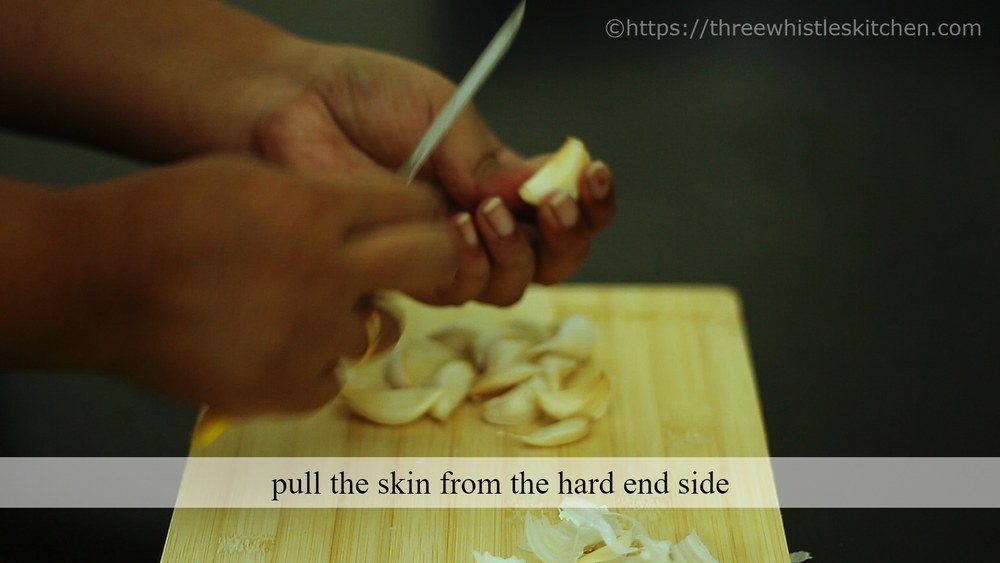
- Pull the skin from the hard end towards the sharp tip end.
- Continue doing it on all sides of the garlic.
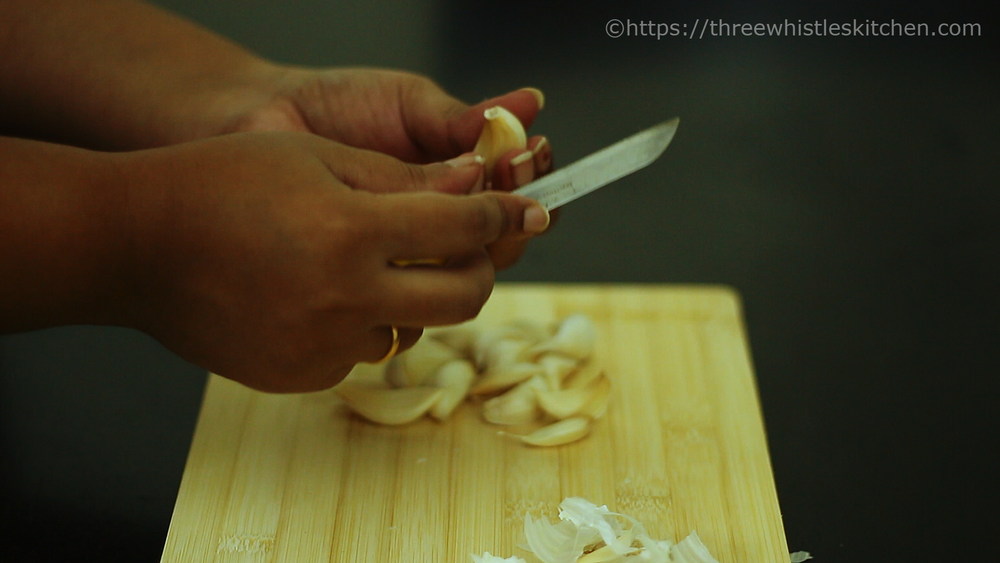
- If you still find any skin on the garlic, then gently lift it with the knife edge and pull it off.
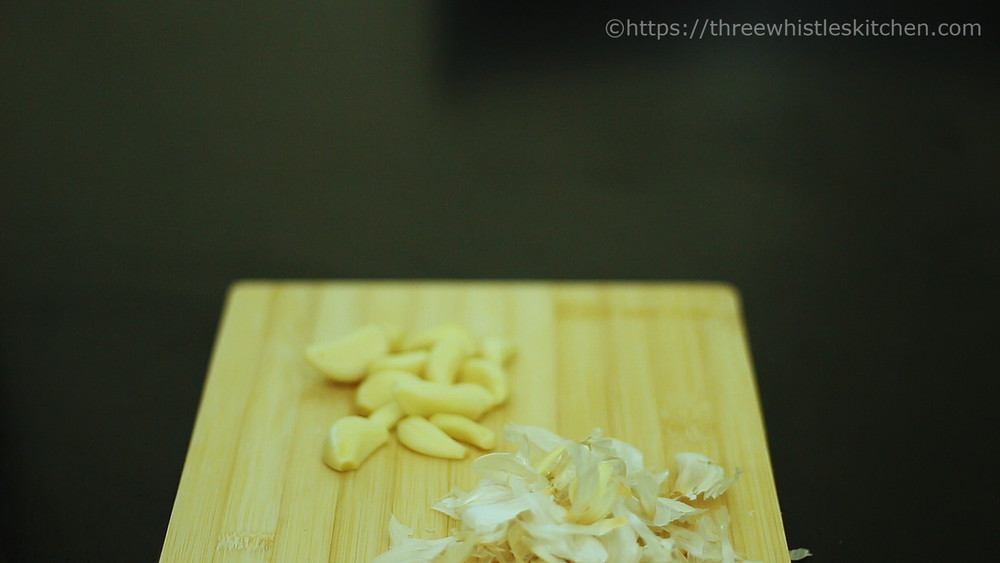
- Finally, cut the hard tip end.
- Repeat the process for other cloves as well.
Detailed Step by Step Method to Prepare Poondu Kulambu (with Tips)
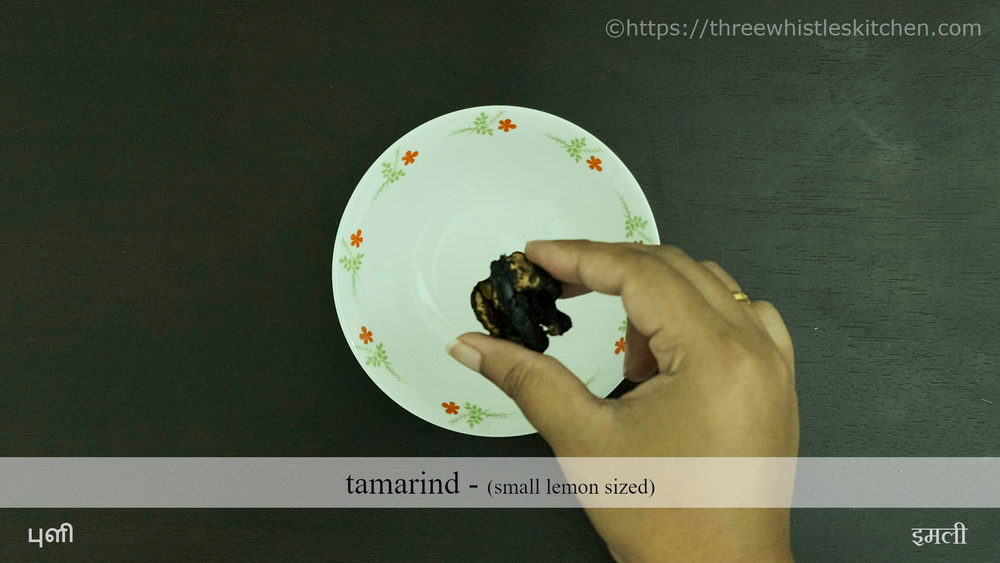
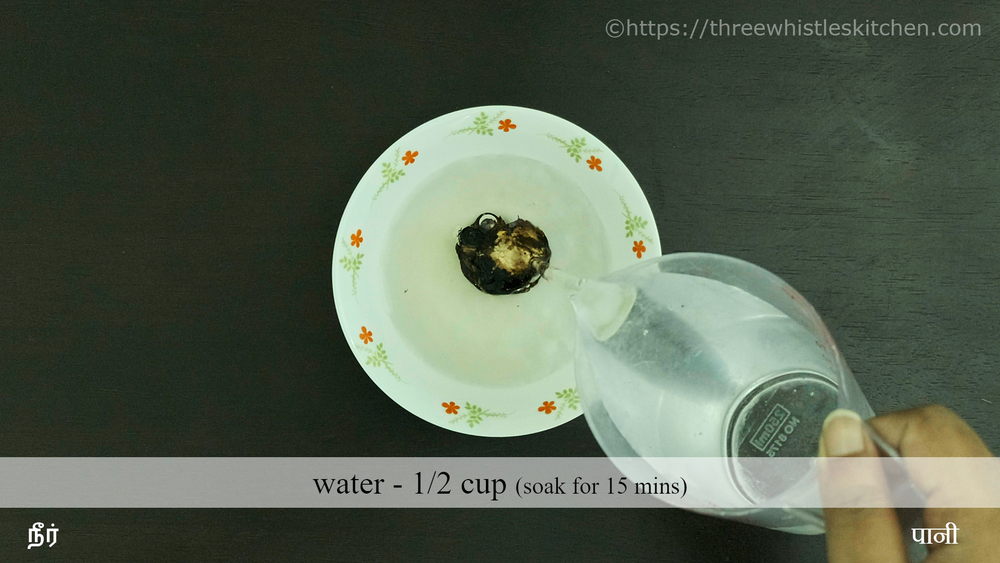
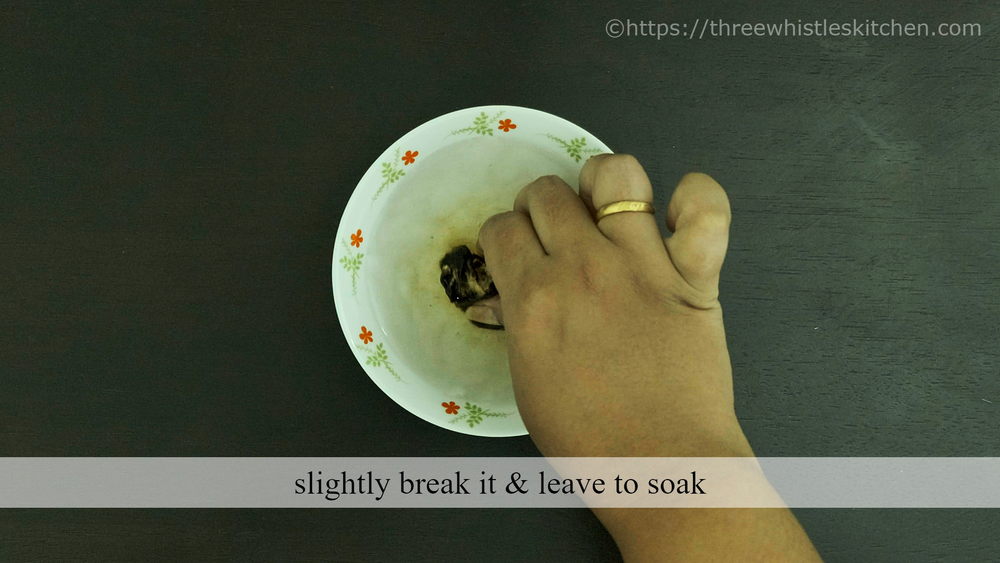
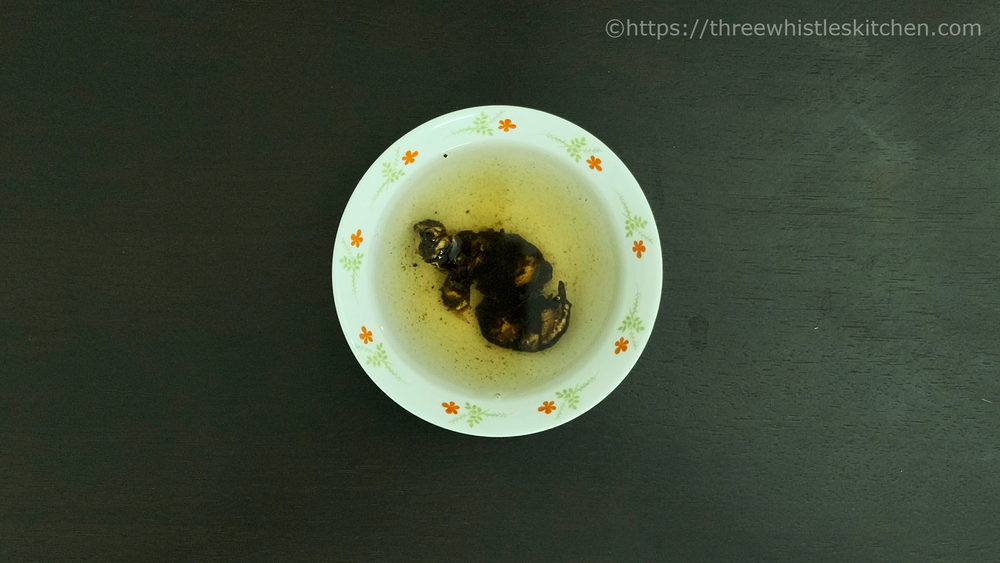
- Soak small lemon-sized tamarind in 1/2 cup water for 15 minutes. Slightly break the tamarind into small pieces to let it become soft faster.
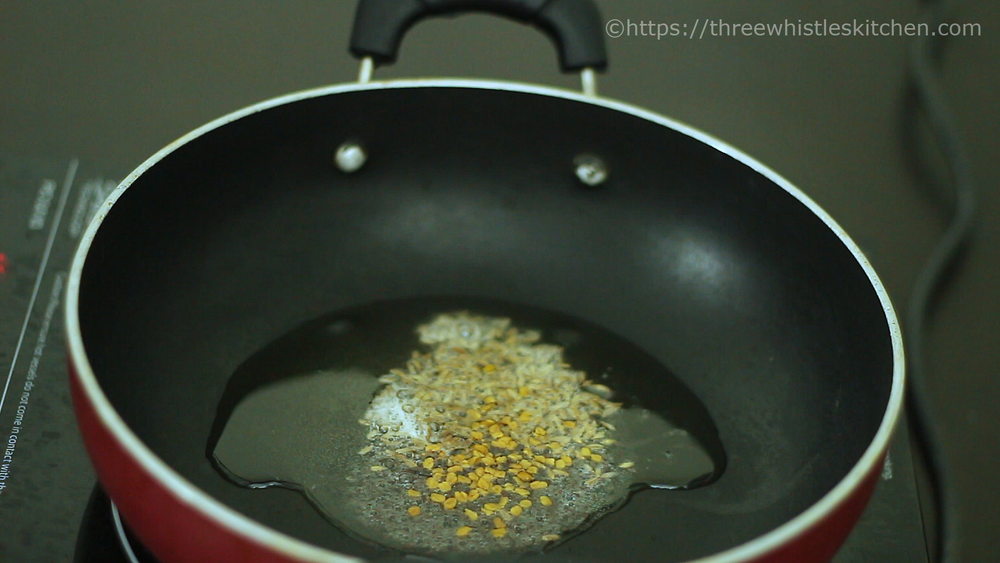
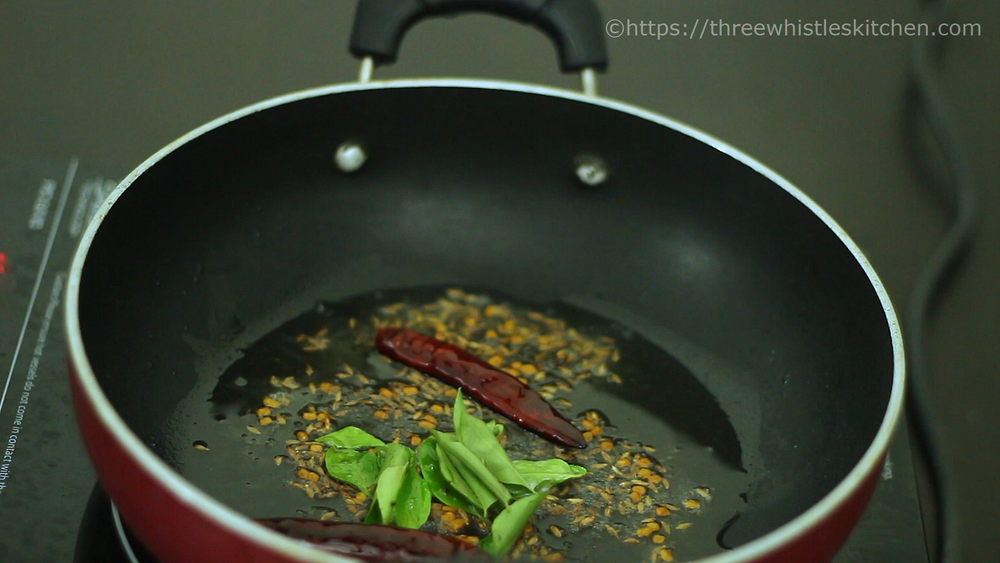
2. In a kadai/pan, heat gingelly oil. I usually prefer gingelly oil or groundnut oil (cold-pressed) as it gives a very nice flavour and taste to the dishes. Once the oil heats up, add the mustard, cumin and fenugreek and let it crackle.
3. Once they crackle, add the whole red chilly and curry leaves. You can also add a pinch of asafoetida if required to enhance the flavours. Give it a saute for few seconds.
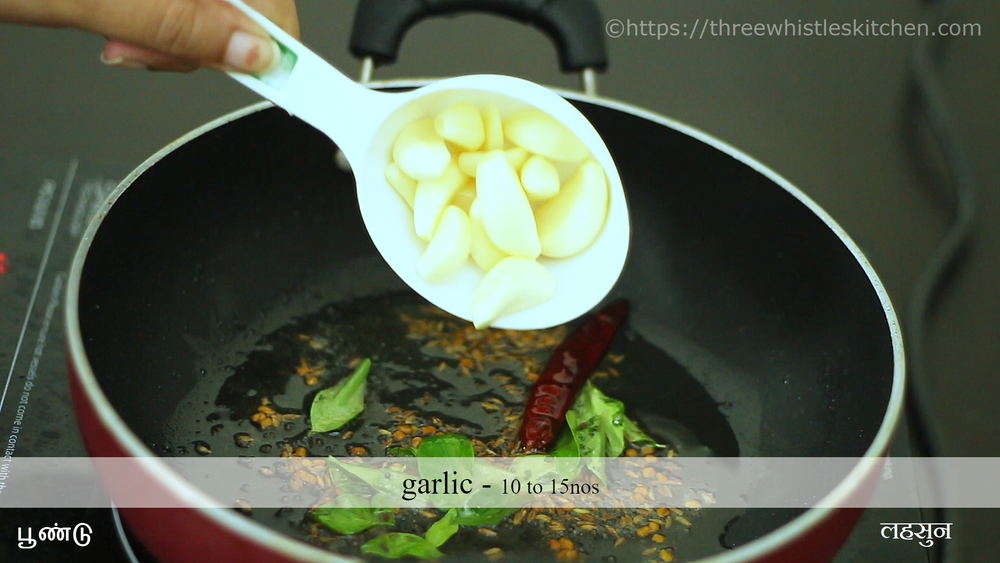
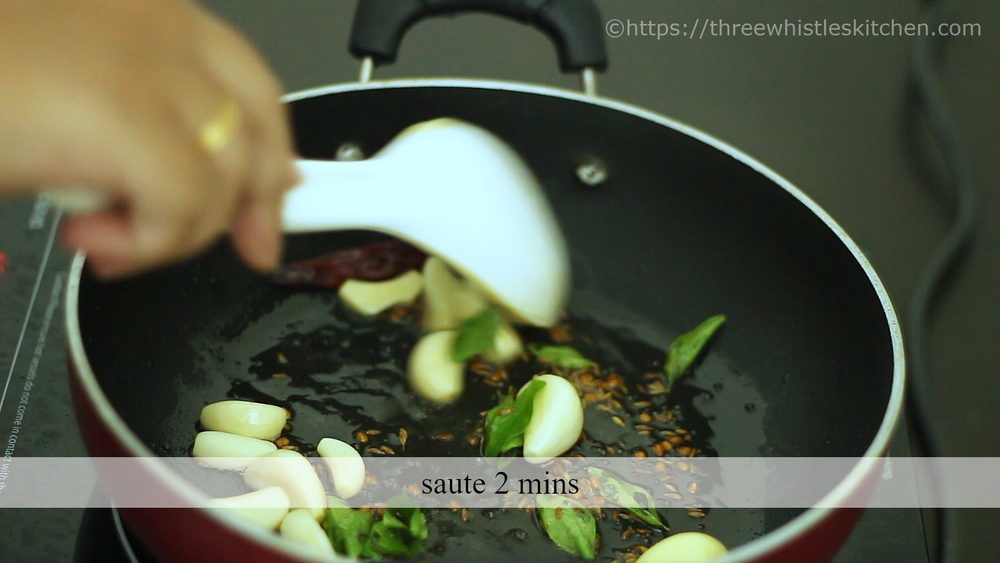
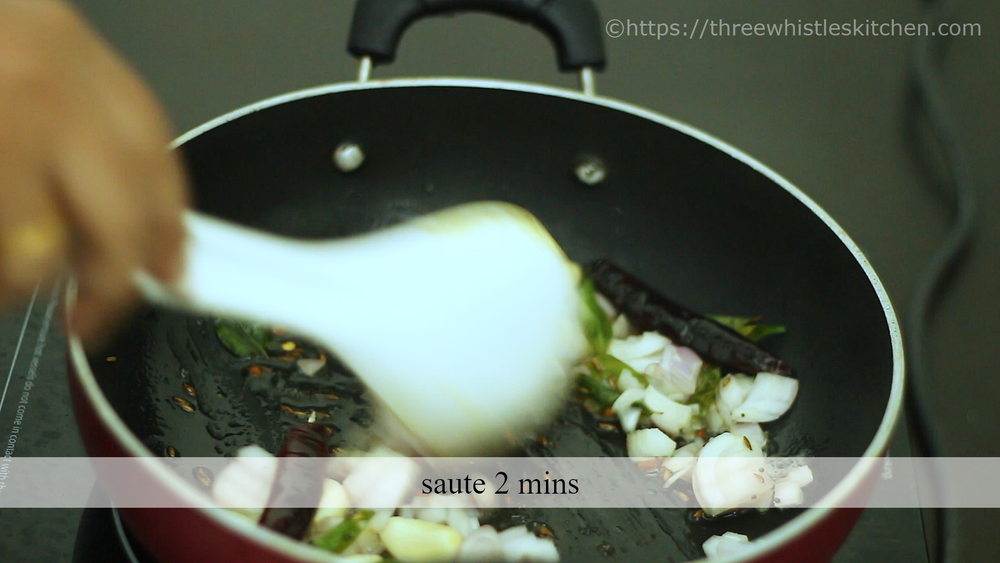
4. Add the peeled garlic cloves and saute 2 mins or until garlic turns slightly golden.
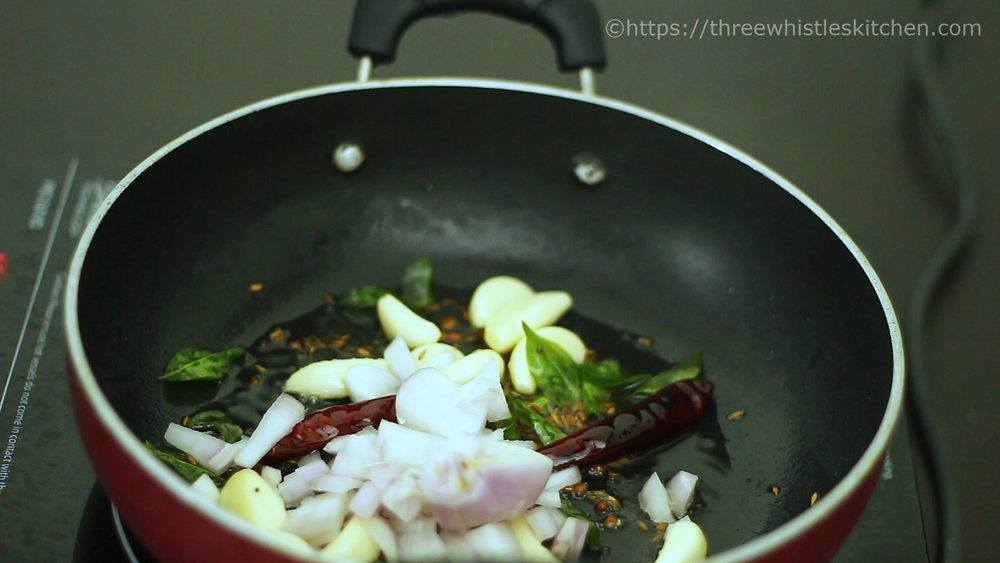
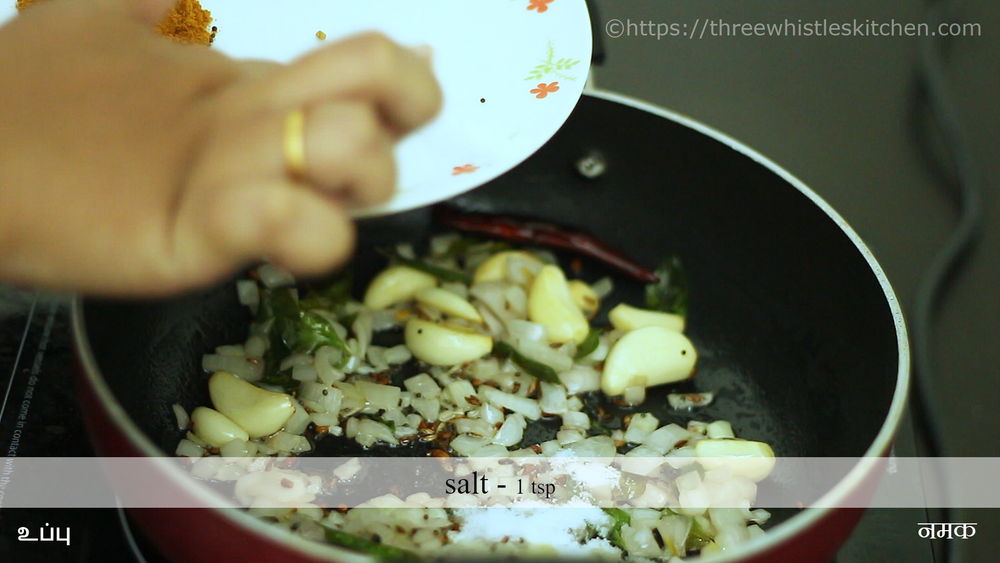
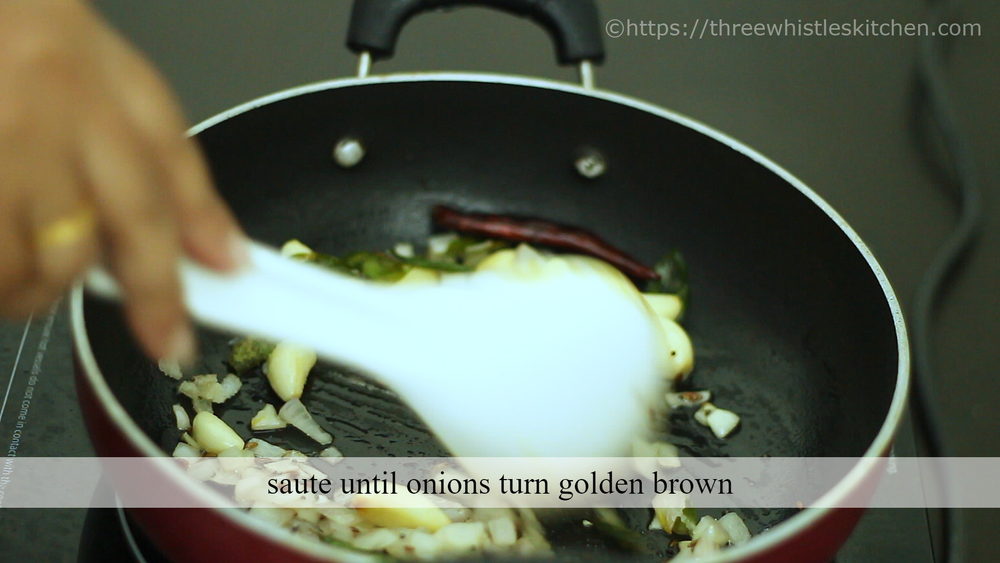
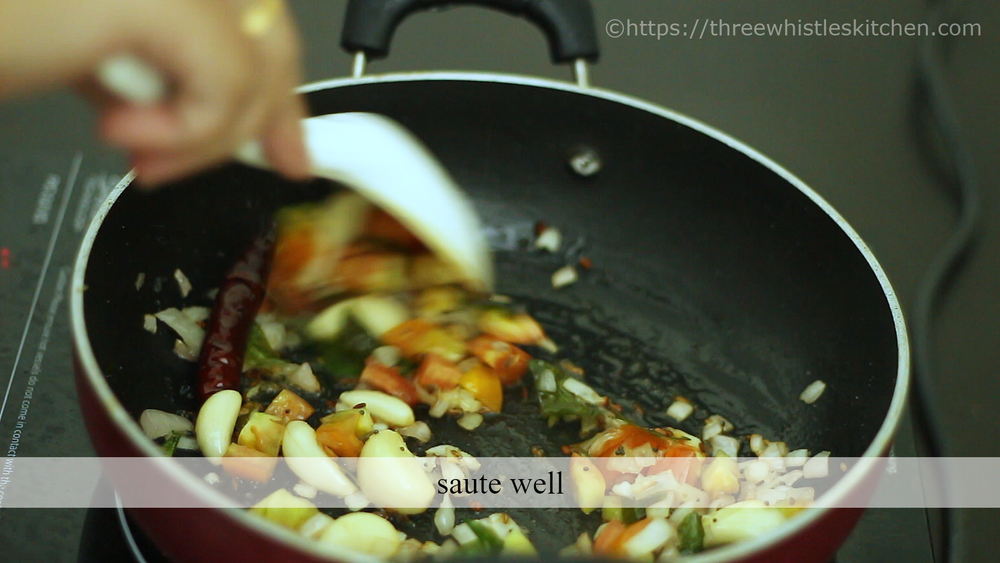
5. Now add the chopped onions and salt. Saute until onions turn golden.
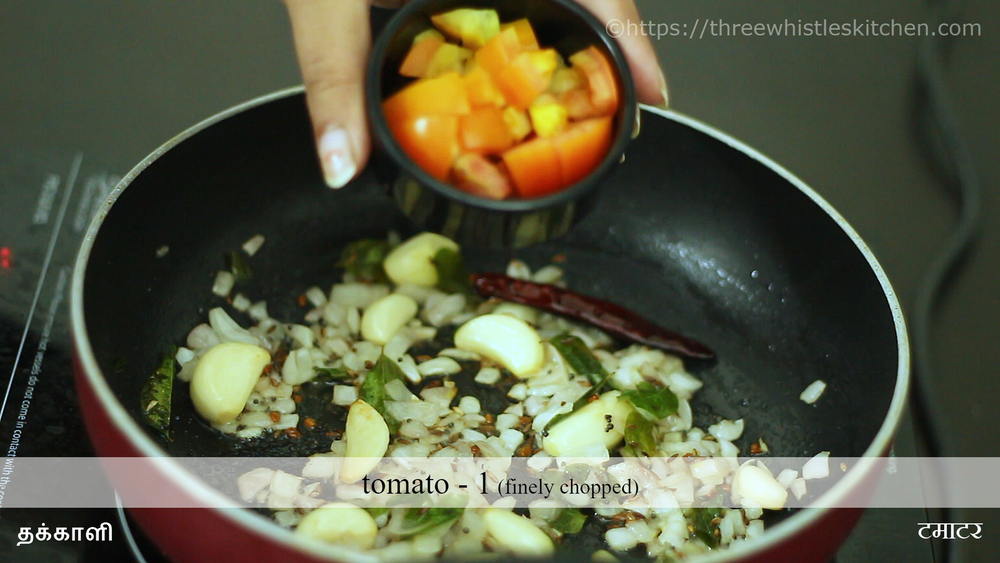
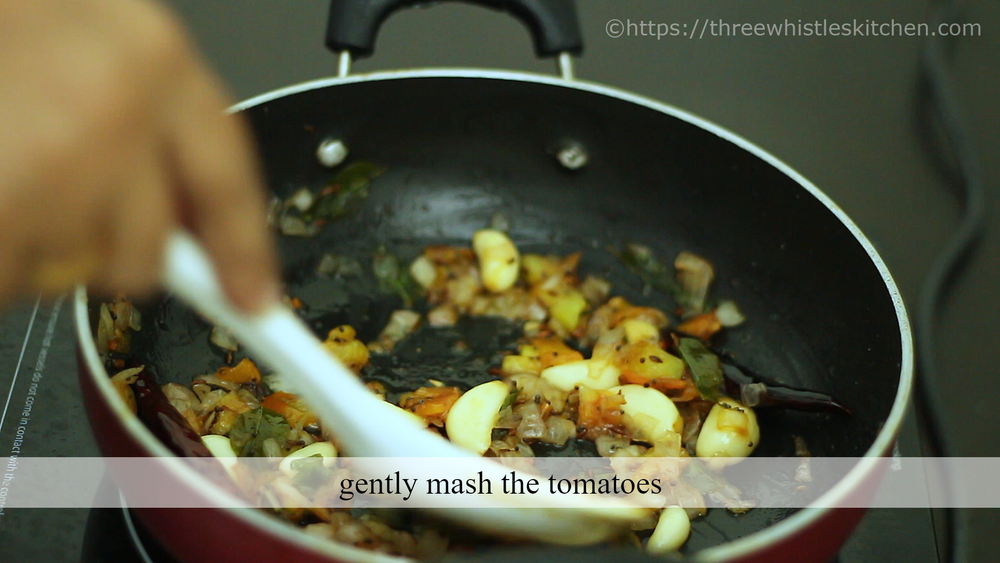
6. Add tomatoes and cook until it turns soft & mushy.
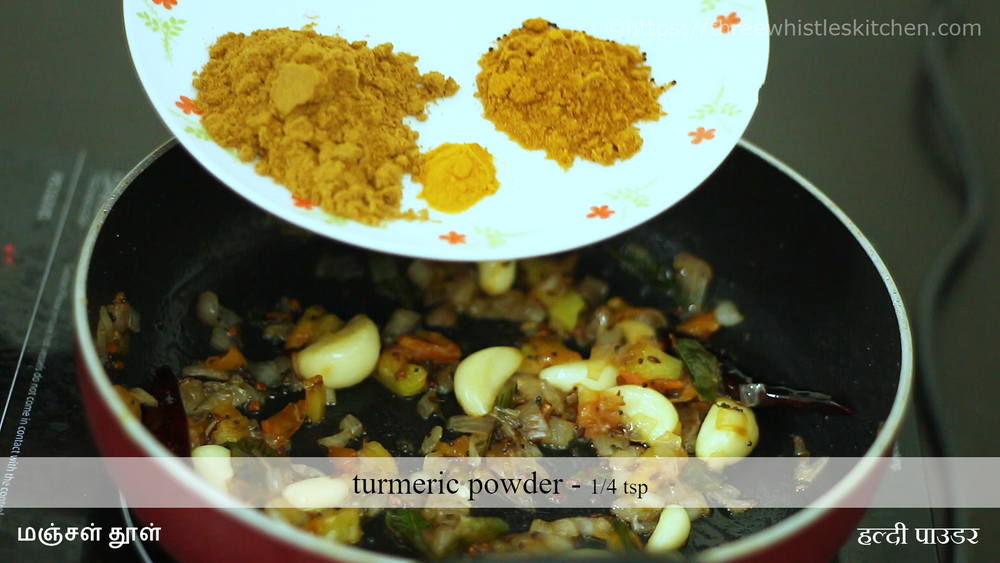
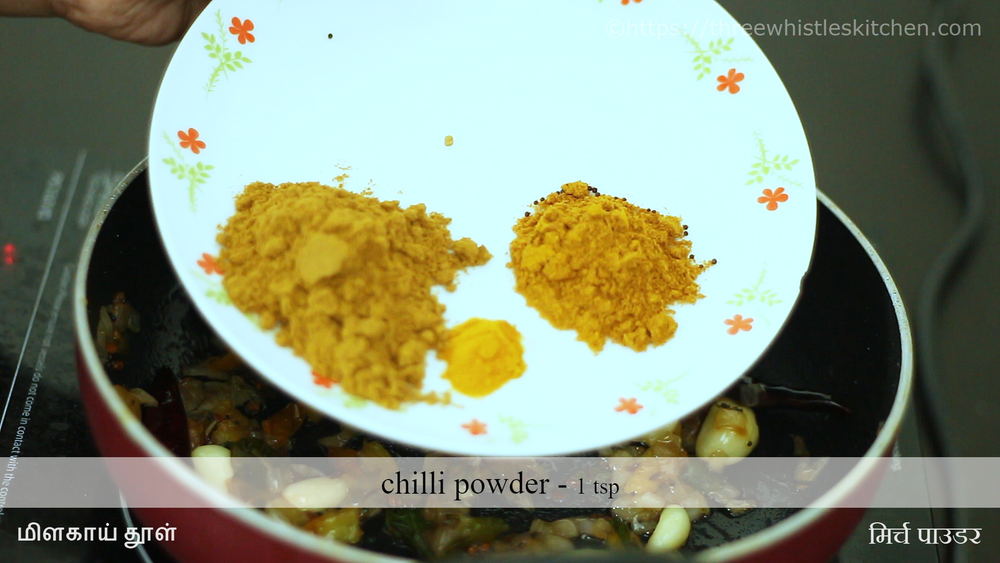
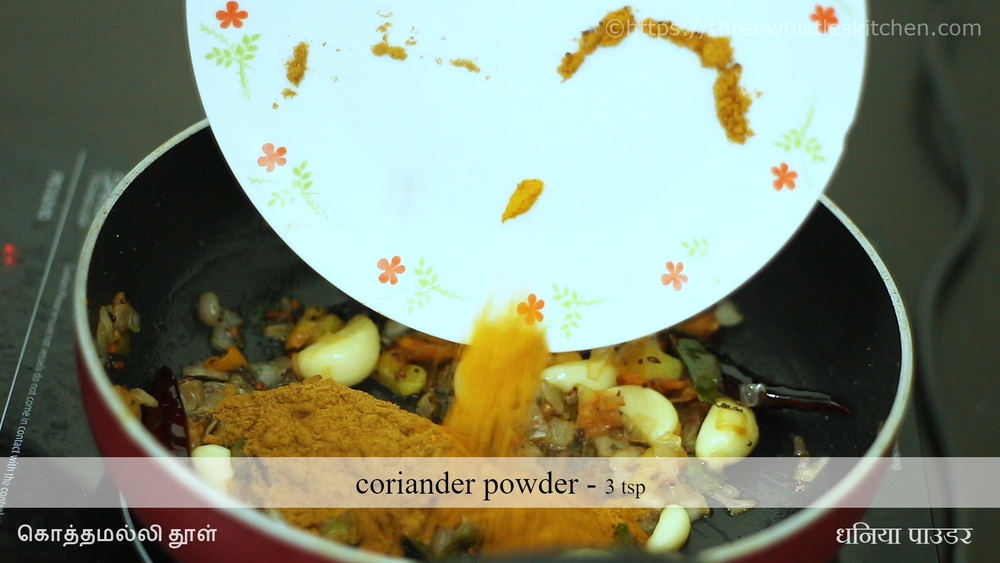
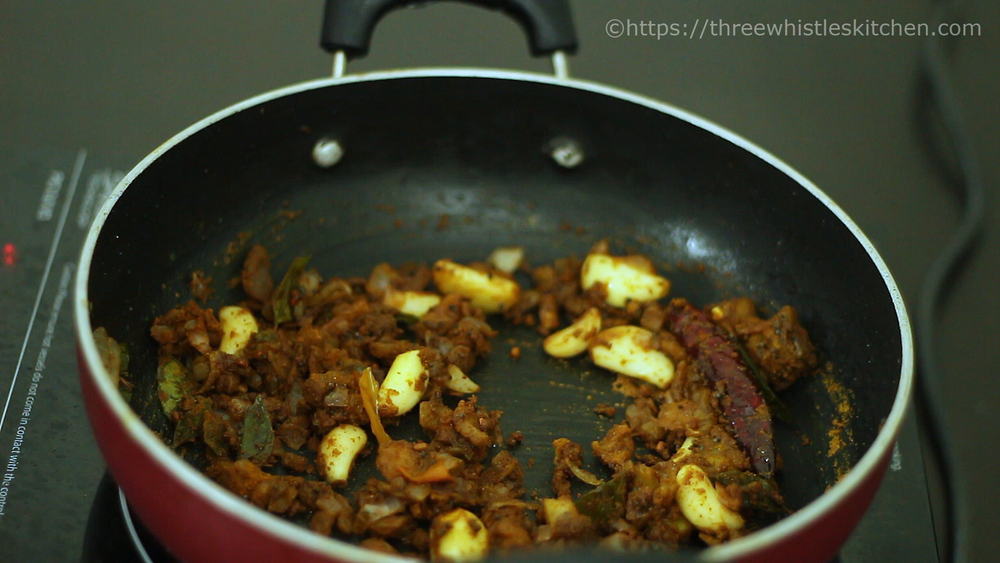
7. Once tomatoes are cooked well, add the powdered spices such as turmeric, chilly powder and coriander powder. Give it a good mix.
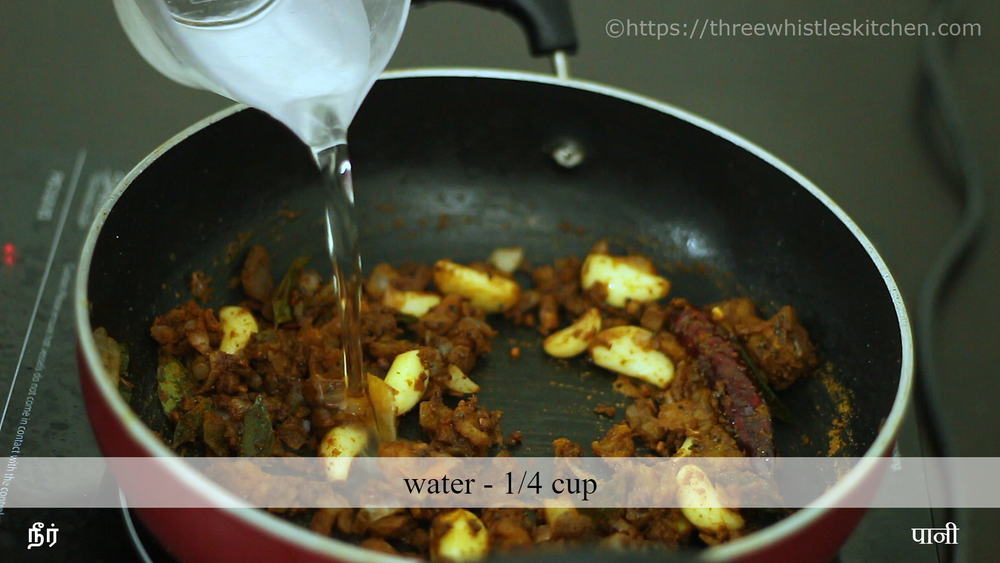
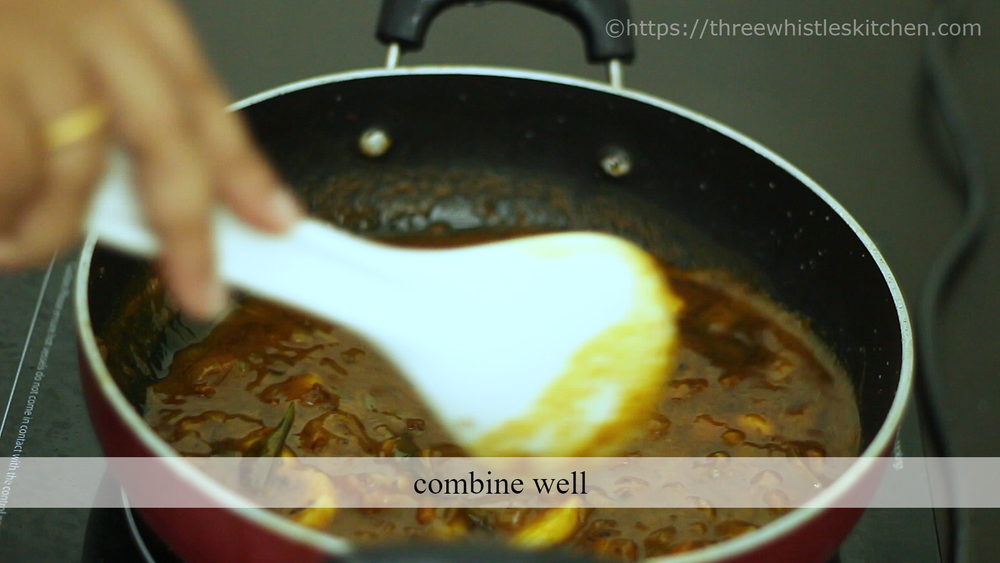
8. Now add 1/4 cup of water to avoid burning of masalas. Do not add too much water as we will be adding tamarind juice later. Combine well and let it boil.
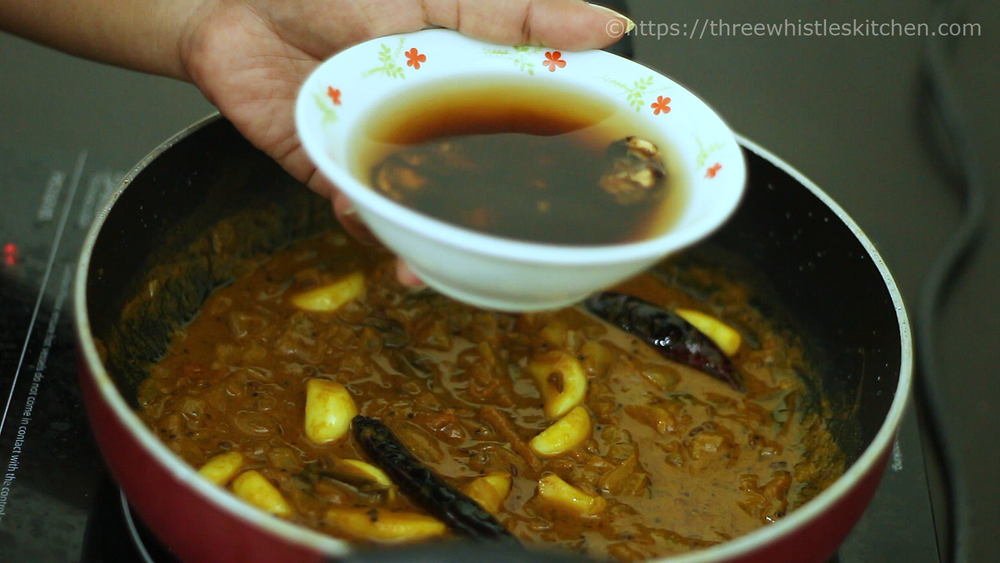
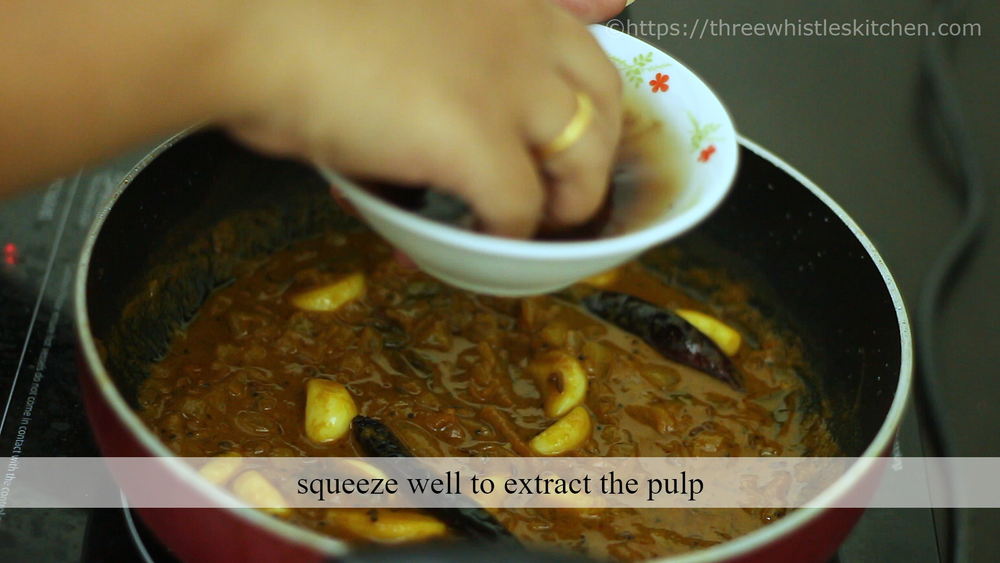
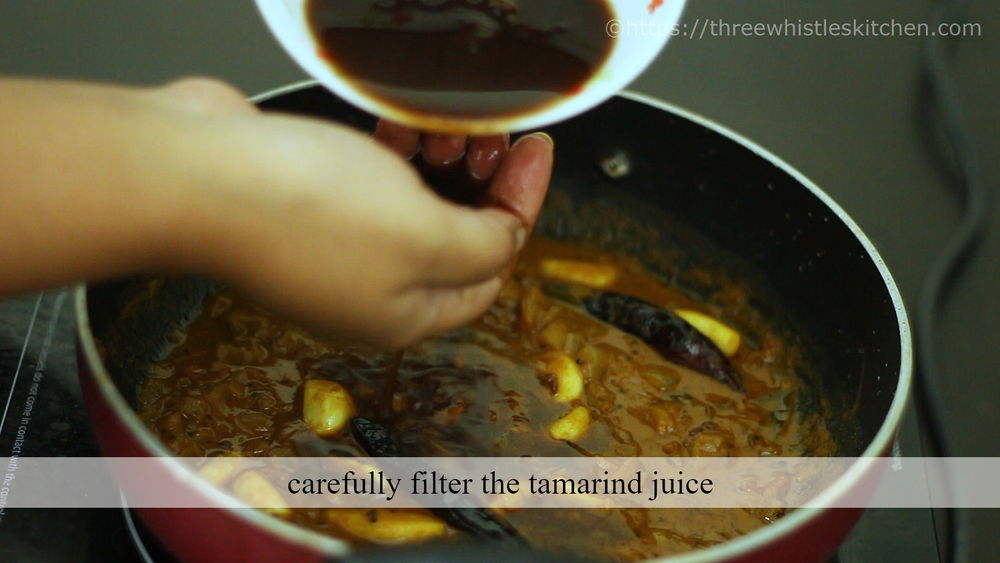
9. Squeeze the tamarind until you get good thick tamarind juice. Filter the tamarind juice carefully without letting the shell pieces to fall into the gravy. You may also use a strainer to filter.
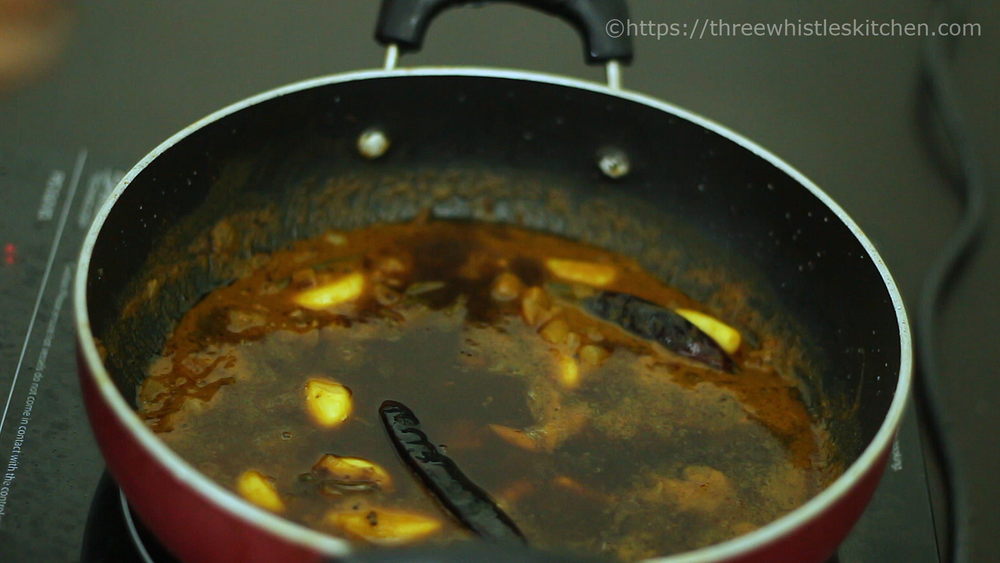
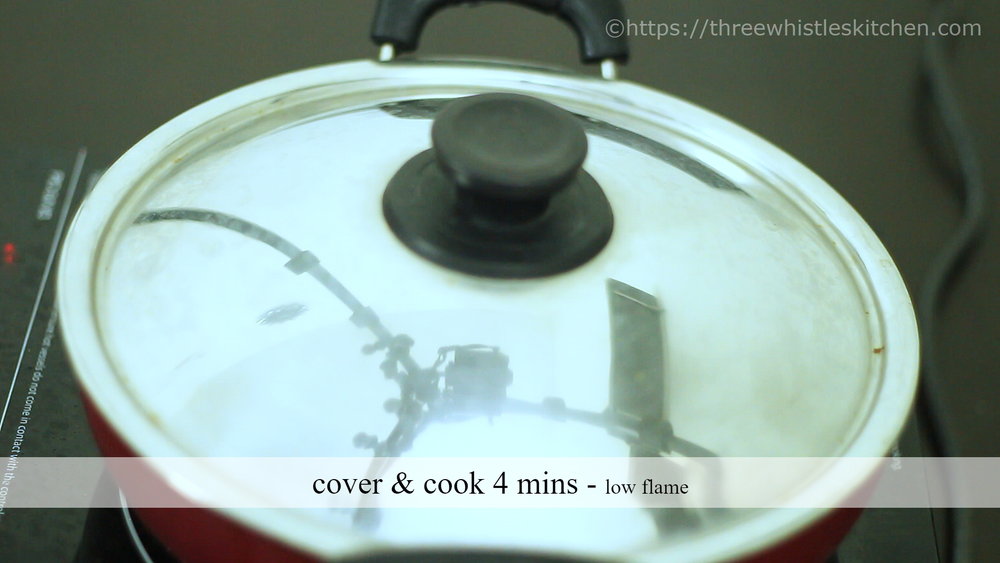
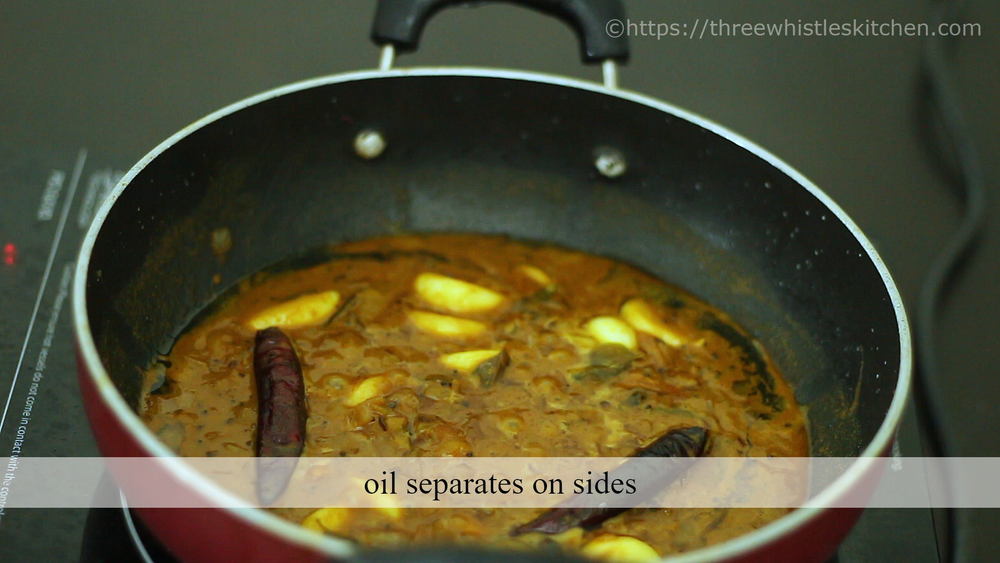
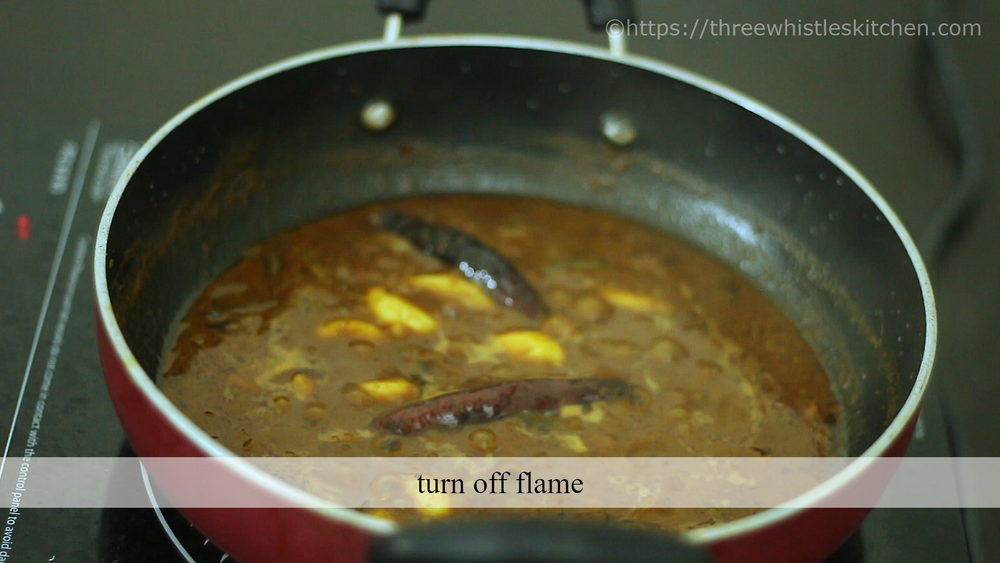
10. Combine well, cover & cook 4-5 mins on medium flame. After 4 mins, oil starts separating on the sides. This indicates that the curry is cooked well.
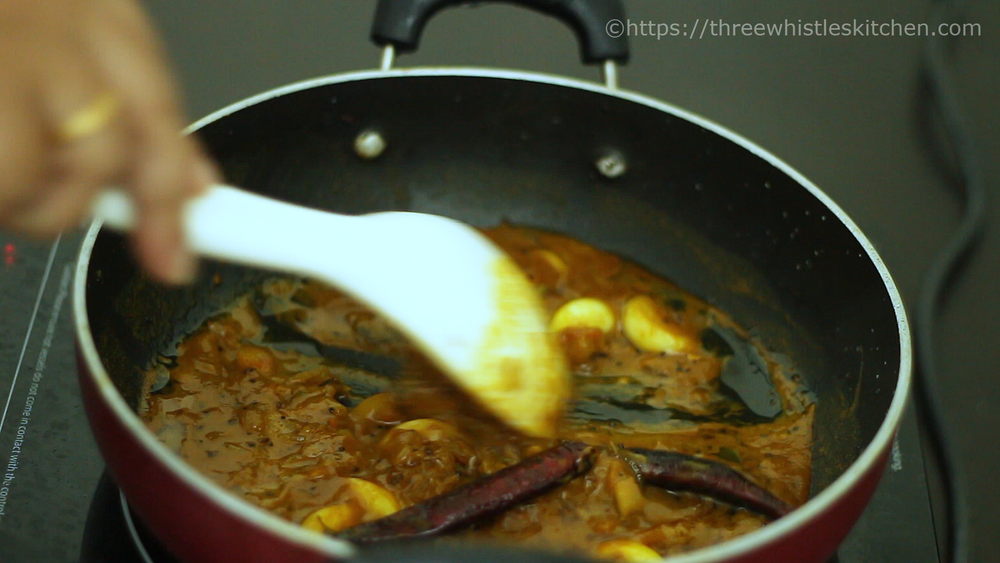
NOTE: Further, you can cook on high for 2 mins and stop at this stage when the oil separates on the sides if you need the gravy little watery. If you need it thick, then proceed further.
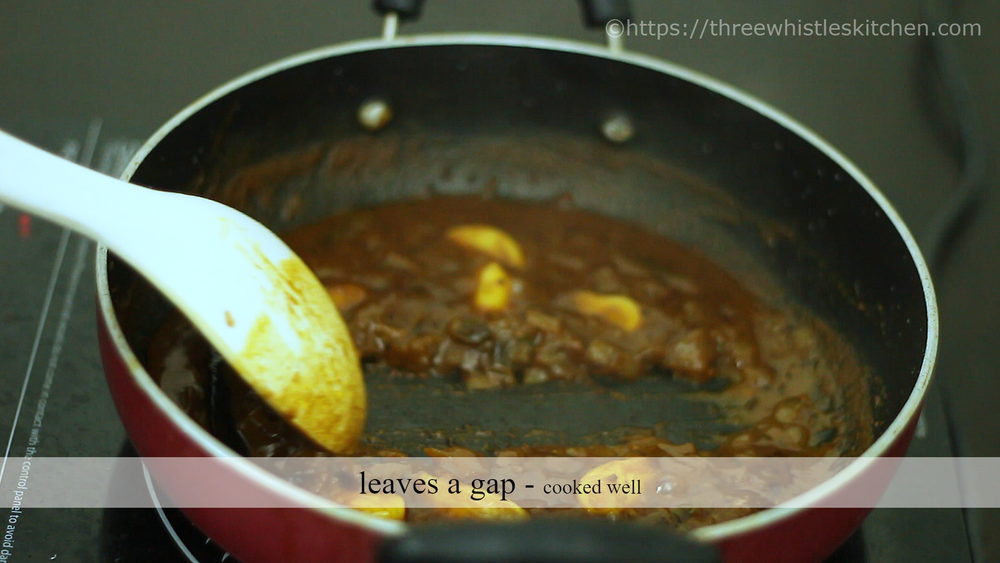
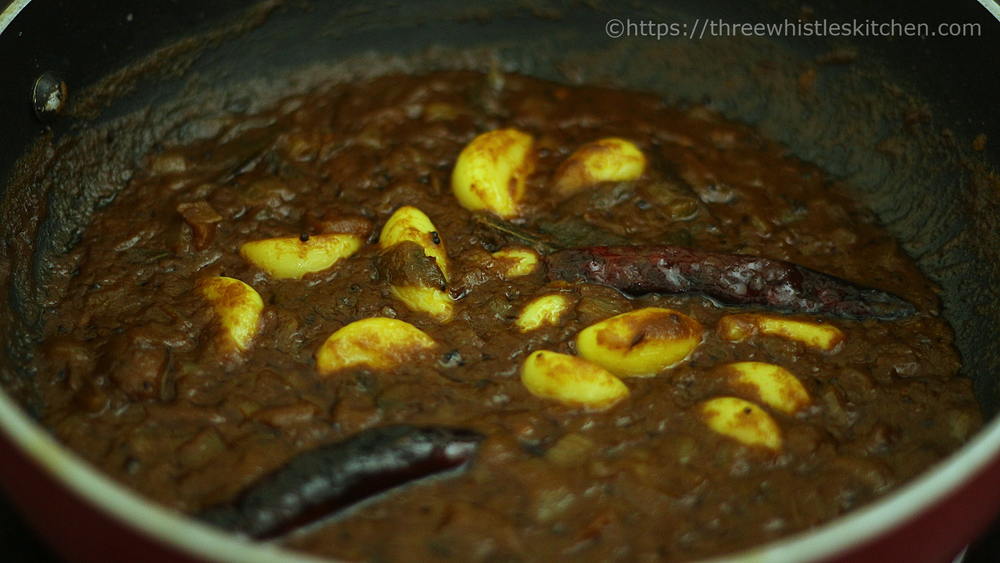
11. Scraping the pan in the middle, leaves no gap – then you need to continue cooking until thick. Again when you scrap in the middle, it leaves a gap, indicating the curry is cooked perfectly.
12. Turn off the flame.
BEST Side-Dishes for Poondu Kulambu & White Rice
- Scrambled Eggs
- Egg Omelette
- Spinach Recipes – Keerai Masiyal, Keerai Poriyal, etc.
- Kootu Varieties – Peerkangai Kootu, Podalangai Kootu, etc.
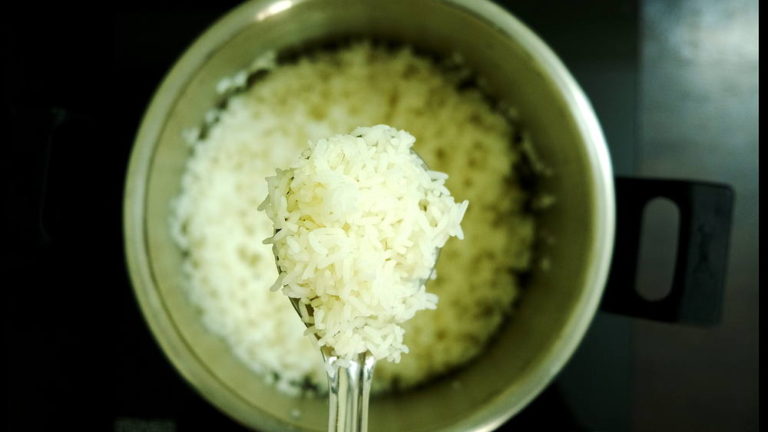
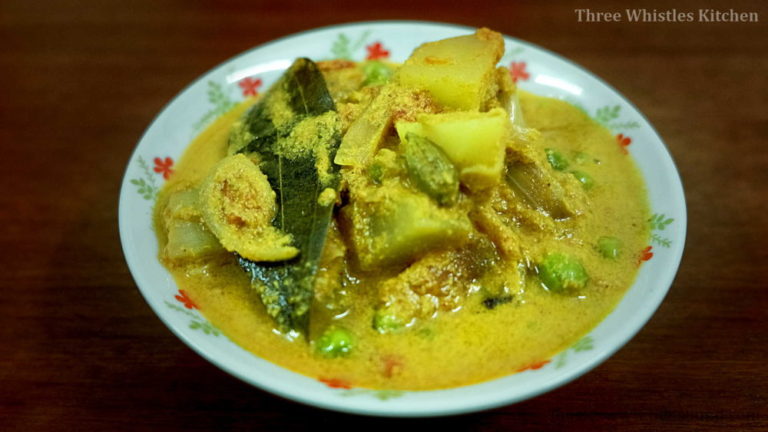
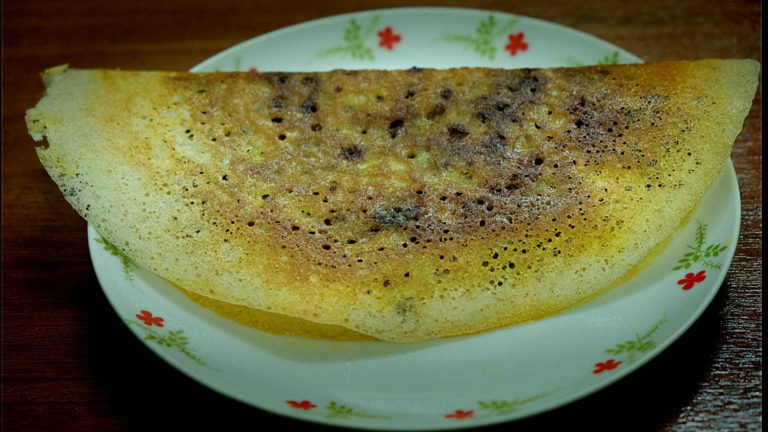
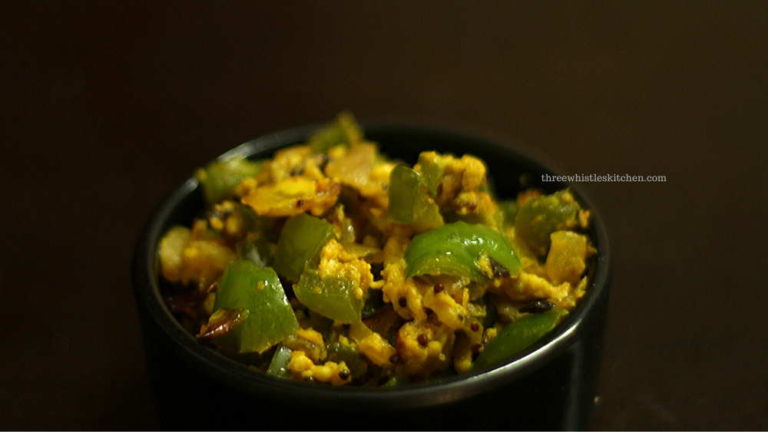
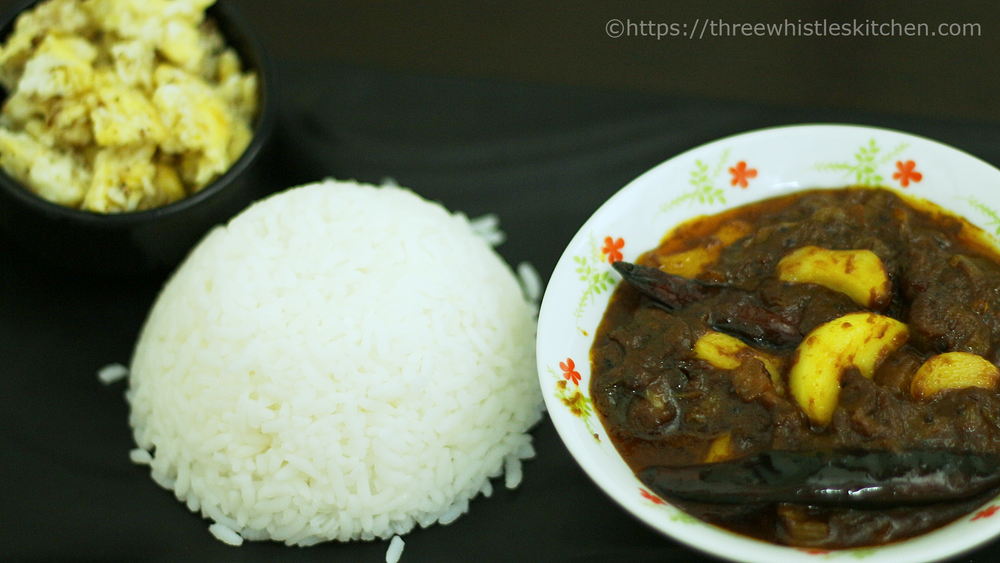
In my home, I usually prepare Poondu kulambu at least once in a week. The spicy & tangy flavoured curry when eaten with piping hot white rice and scrambled eggs or omelette tastes absolutely delicious. This garlic curry also goes well with white rice and spinach side dish or any kootu variety.
Variations to this Recipe
- You may add Dry Turkey Berry (Sundakkai Vathal) along with the garlic at the beginning.
- To make this method even simpler, you can add 3 tsp homemade sambar powder or homemade kulambu podi too. You will find only a mild variation in taste that is hardly noticeable.
- You can avoid tamarind juice if you do not like tangy taste in curry.
Important Tips to Keep in Mind for Poondu Kuzhambu
- This curry/kulambu can be stored in the refrigerator and used up to 2-3 days. More the days, better the taste.
- Poondu kuzhambu can be stored for about a weeks time provided you cook it with extra 2-3 tbsp of oil and refrigerate it once cooled in an air tight or glass jar.
- Make sure not to use wet spoons or bring it in contact with moisture, which reduces the shelf-life.
Recipe Card
Ingredients
- For Soaking
- Tamarind - lemon sized
- Water - 1/2 cup
- For Curry
- 10-15 nos Garlic Cloves
- 3-4 tbsp Gingelly Oil
- 1 tsp Mustard
- 1 tsp Cumin
- 1/4 tsp Fenugreek
- Few Curry Leaves
- 2nos Whole Red Chilly
- 1 Onion - finely chopped
- 1 tomato - finely chopped
- 1/4 tsp Turmeric Powder
- 1 tsp Chilly Powder
- 3 tsp Coriander Powder
- 1/4 cup Water
- 1/2 cup Tamarind juice
Instructions
- Soak tamarind in water for 15 mins.
- Heat oil in a pan. Add mustard, cumin, fenugreek, red chilly whole and curry leaves.
- Give it a saute.
- Add peeled garlic and saute for 2-3 mins until garlic turns golden.
- Add chopped onions and salt and saute until onions turn golden.
- Now add chopped tomatoes and cook until soft & mushy.
- Add the powdered spices and combine well.
- Add little water and mix well. Bring it to boil.
- Cover & cook 4-5 mins on medium flame.
- Oil separates on sides. Mix once and cook on high flame until desired consistency is reached.
- Stop cooking once desired consistency is reached.
- Scraping on the middle leaves a gap indicating the curry is perfectly cooked.
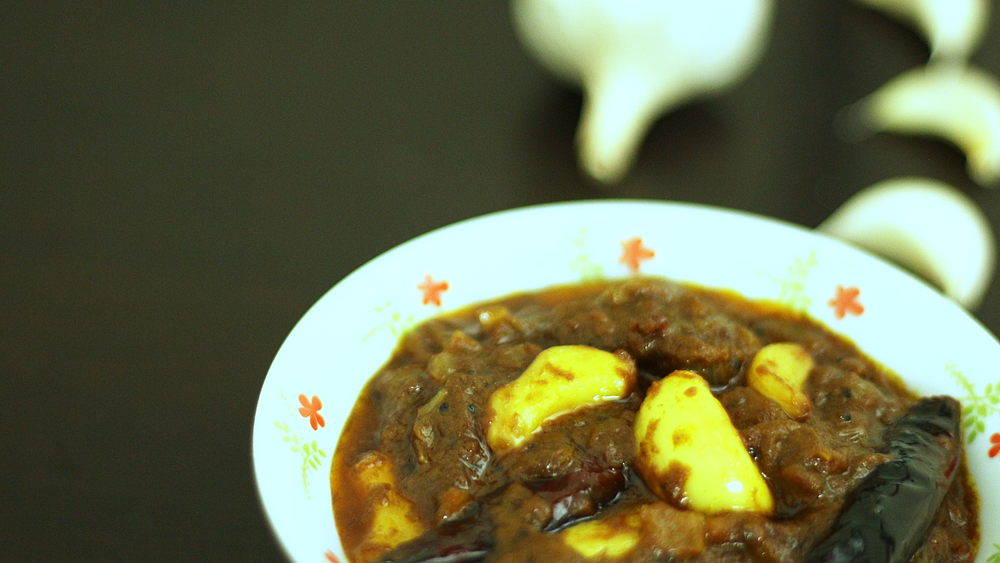
- Serve with hot rice and scrambled eggs or spinach.

